Key takeaways
- Mark the screw slot with a marker dot before you turn anything, so factory is always one look away.
- Move in quarter turns at most and sew a test seam on two layers of cotton after every change.
- A healthy front-load case slips 2-4 inches in the drop test, and a drop-in case pulls with smooth light drag near 25-30 grams.
- Clean under the leaf spring before adjusting, because packed lint mimics an overtightened screw.
- Leave the small spring anchor screw alone, since a shifted spring means buying a $10-25 replacement case.
A Janome HD3000 landed on my bench last spring with a note taped to the lid: bobbin thread loose, screw already adjusted, machine still broken. The underside of every seam told the story, top thread dragged clean through to the back in tight little pulls.
The previous owner had cranked the bobbin case screw a full turn past factory. By bobbin standards a full turn is enormous. The case was strangling its own thread, and the top dial had been spun to 9 in a losing fight to compensate.
Backing the screw out cured that machine in twenty minutes, but only because a full turn is a big, findable mistake. The real menace is slow drift, half guesses stacked over months until nobody knows where factory sits. Two habits prevent the drift for good: mark first, move small.
Prove the bobbin is guilty before you sentence it
Most tension complaints have nothing to do with the bobbin case. Rethread the top from scratch with the presser foot up so the thread truly seats between the tension discs. Fit a fresh needle, an 80/12 suits most quilting cottons, and brush the lint out of the bobbin area while you are in there.
Wind a fresh bobbin at moderate speed too. A spongy, loosely wound bobbin, or one filled past its rim, feeds unevenly no matter how perfectly the case is set.
Now sew a test strip on two layers of quilting cotton with the top dial at 4 and the stitch length at 2.5 mm. If the underside still misbehaves after all of that, the case has earned its inspection.
Front-load or drop-in: know which case you own
Front-load machines, which include most Berninas, many Janomes, and nearly every vintage workhorse, carry a removable metal case with a hinged latch. You open a door on the free arm and pull the case out with the bobbin riding inside.
Drop-in machines, which cover most modern Brothers, Singers, and budget Janomes, hide a small plastic case under a clear slide plate in the bed. The bobbin drops in from above, and the case itself lifts out once the needle plate is off.
Both designs share the part that matters. A flat leaf spring rides along the side of the case, the bobbin thread feeds underneath it, and one screw sets how hard that spring presses. That screw is your only target.
| System | Case | Test to use | Correct feel |
|---|---|---|---|
| Front-load | Metal case with a latch | Yo-yo drop test | Slips 2-4 inches on a gentle jerk |
| Drop-in | Plastic case in the bed | Pull test | Smooth light drag, about 25-30 grams |
Mark the screw, stage the bench
Take a fine tip permanent marker and put a dot on the screw slot with a matching dot on the case beside it. That pair of dots is your map home. However far you wander, factory is always one alignment away.
Then stage the work. Spread a folded bath towel on the table, set up strong light, and choose the smallest flathead screwdriver that fills the slot completely. The screw is shallow and soft, and a sloppy driver will strip it in one impatient twist. A chewed screw or a kinked spring means a replacement case, which runs $10-25 for most home machines.
The towel earns its keep inside the first minute. These screws are the size of a sesame seed and they love to leap. On terry cloth they land soft and stay found.
Watch out
Look closely at the leaf spring and you will find two screws. The larger one near the open end of the spring adjusts tension, and it is the only one you touch. The smaller screw anchors the spring to the case body. Turn that one and the spring shifts, the geometry is gone, and no amount of adjusting will bring the case back.
Run this list before the screwdriver comes out:
- Top rethreaded with the presser foot up and a fresh 80/12 needle fitted
- Fresh bobbin wound at moderate speed and loaded in the correct rotation
- Lint brushed from the case, the hook race, and under the leaf spring
- Marker dot placed on the screw slot and the case beside it
- Towel down, strong light on, correct flathead in hand
- Two layer cotton scrap ready for a test seam after every quarter turn
The yo-yo drop test for front-load cases
Load the bobbin so the thread feeds under the leaf spring, close the latch, and hold the loose thread tail. Let the case dangle in the air over the towel like a yo-yo on a string.
Give the thread one short, gentle upward jerk. A correctly set case slips down 2-4 inches and stops. That slip and catch is the spring doing its job, enough grip to control the thread and enough give to feed it smoothly.
A case that plummets to the towel is too loose, so tighten the screw a quarter turn clockwise. A case that hangs frozen is too tight, so back the screw off a quarter turn. Righty-tighty holds true on bobbin cases just as it does on jar lids.
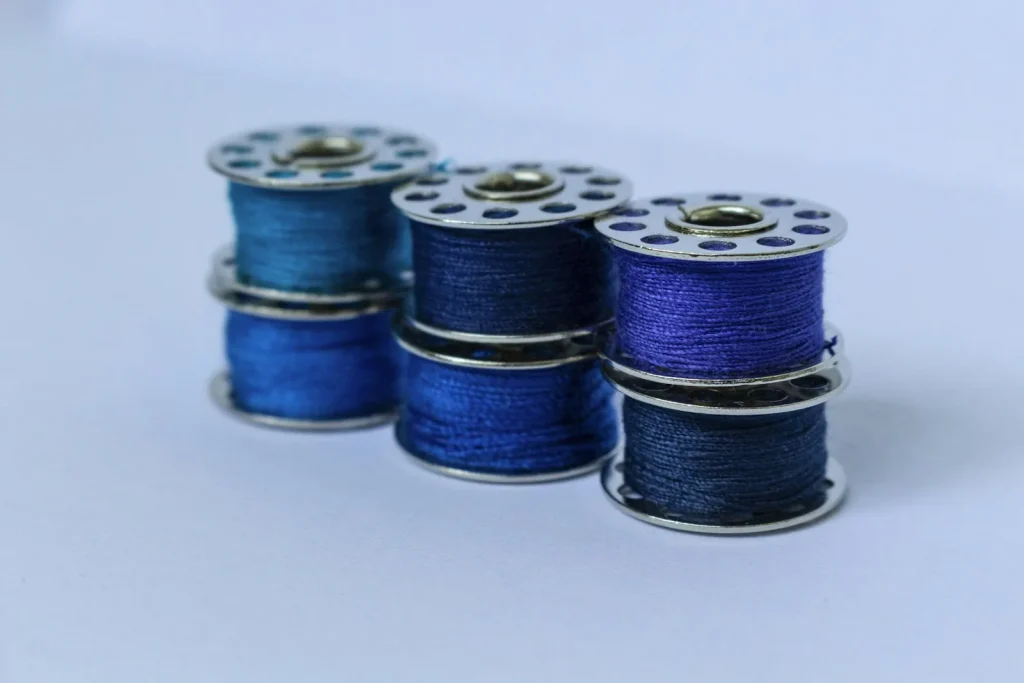
The pull test for drop-in cases
A plastic drop-in case weighs too little for a believable drop test, so use the pull test instead. Unplug the machine first, since your fingers will be working beside the needle. Remove the needle plate, usually two small screws, and lift the case out.
Load the bobbin, run the thread under the spring, and hold the case flat in your palm. Draw the thread straight out at a steady pace and pay attention to the drag. You want smooth, light, even resistance with no stutter and no sudden release.
On a tension gauge that feel reads about 25-30 grams for everyday sewing. Thread that flows out with no resistance at all calls for a quarter turn in. Thread you must tug free calls for a quarter turn out.
Quarter turn, test seam, repeat
Here is the discipline that separates a tune-up from a wreck: one adjustment, then one test seam, every single time. Never stack two turns without sewing in between.
Reinstall the case, sew 6 inches on your two layer cotton scrap, and read the underside in strong light. Little pulls of top thread showing on the back mean the bobbin side is still winning, so loosen slightly. Bobbin thread surfacing on top of the fabric means the case is still too loose, so tighten.
Creep toward balance in quarters, then in eighths as you close in. The whole journey rarely needs more than half a turn from factory. If you ever find yourself a full turn from your marker dot, stop, return to the dot, and go hunting for a different culprit.
The Brother that taught me to clean before turning
A Brother CS6000i once arrived with loops on the underside that had survived two careful rethreads. The top path was perfect. Every sign pointed at an overtight bobbin, and the pull test agreed, with thread dragging out like it was moving through honey.
But the owner’s marker dot sat exactly on factory. So instead of turning anything, I slid the corner of a business card under the leaf spring and swept it side to side. Out came a gray pad of compacted lint nearly as thick as the spring itself.
The pull smoothed out instantly, the loops vanished, and the screw never moved. Lint packed under the spring adds drag exactly the way an overtightened screw does. Clean under the spring first, every time, and adjust only what the cleaning fails to fix.
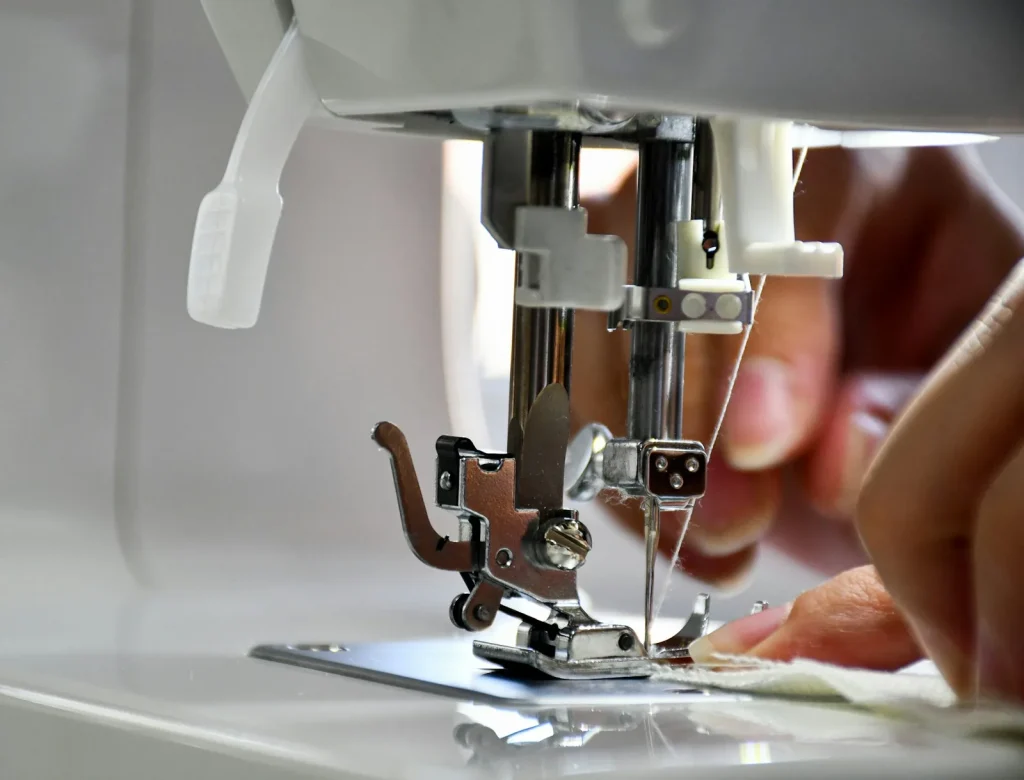
Sew, log it, and leave the screw alone
When the underside comes clean, return the top dial to 4 and sew one final strip using the actual thread and fabric of your current project. Keep that strip. Date it in the margin and tuck it into the accessory tray, because a known good seam is the fastest tension reference you will ever own.
If the case keeps fighting you, or an earlier owner chewed the slot past gripping, skip the heroics. A fresh case arrives set near factory for $10-25 and hands you a clean baseline to mark on day one.
The screw was never cursed. It only ever needed a map, a towel, and a lighter hand than the last person gave it.
There is a companion guide to this one worth bookmarking: Automatic Tension Machines: Who Adjusts What.
Frequently asked questions
How do I know if my bobbin tension is too tight or too loose?
Read the underside of a test seam sewn on two layers of cotton with the top dial at 4. Top thread pulled through to the back points to a bobbin side that is too tight relative to the top. Bobbin thread surfacing on the top side points to a case that is too loose. Confirm with the drop test or pull test before turning the screw.
What screwdriver fits a bobbin case tension screw?
Use the smallest flathead that fills the slot completely, usually a 1.5-2 mm jeweler size or the short driver in your accessory kit. A loose fit strips the shallow slot in one hard twist. Work over a towel so the screw survives its inevitable escape attempt.
Do I need a tension gauge to adjust bobbin tension?
No. Home sewists do fine with the drop test for metal cases and the feel of smooth light drag for drop-in cases. A gauge earns its cost if you switch thread weights often or do machine embroidery, where many digitizers specify 18-25 grams. For everyday sewing, 25-30 grams is the usual zone.
Do prewound bobbins need a different tension setting?
Often, yes. Prewounds are usually wound firmer and with finer thread than home wound bobbins, so they feed a little differently. Many sewists keep a second case set for prewounds or specialty thread and mark it with a dab of nail polish. That way the factory set case never gets touched.
How often should bobbin tension actually be adjusted?
Almost never. A home machine can run for years without that screw moving if the case stays clean. Adjust when you change to a very different thread weight, such as moving from 50wt piecing cotton to 12wt topstitching thread, and clean under the spring first every single time.

Amit Sisodia
Amit Sisodia is a longtime sewing enthusiast and hobbyist repair tinkerer who has spent years diagnosing tension quirks, jammed bobbins, and stubborn feed dogs across everything from vintage treadle Singers to modern computerized machines. He writes practical, tested guides for BobbinWise so home sewists can spot problems early, tackle safe repairs themselves, and know when it's smarter to call in a technician.