Key takeaways
- Never force a stuck handwheel, because the pressure goes straight into the hook shaft and gears.
- Thread wound into the hook race causes most stuck wheels, and tweezers plus gentle rocking clears it in minutes.
- Check the bobbin winder spindle and, on vintage machines, the clutch knob before you assume anything is broken.
- Old oil dries into varnish after years of storage, and one drop plus patient rocking over an hour softens it loose.
- A wheel that stops dead at the same point after every gentle fix points to real mechanical seizure and a repair shop.
The wheel will not move. You push again, harder this time, and it resists like it has been set in concrete. The next instinct is the expensive one: grip tighter, add a second hand, lean your shoulder into it.
Resist that instinct for twenty minutes and you will very likely save yourself a repair bill. A handwheel forced past real resistance can bend a hook shaft, shear a gear tooth, or strip a clutch disc, and any one of those turns a free fix into a $75-150 shop visit.
A stuck handwheel is a symptom with a short list of causes, and the fix almost always matches the cause exactly. Work the list in order, gentlest option first, and most machines free up before you reach the end of the list.
Read What the Wheel Is Telling You
Before you remove a single screw, turn the wheel gently, toward you, the normal direction, and pay attention to how it resists. The feel narrows the cause before you open the machine at all.
| What it feels like | Likely cause | Where to look first |
|---|---|---|
| Gritty, sandy rotation | Debris or dried lint in the hook race | Under the needle plate |
| Rubbery, bounces back | Thread wound into the hook race | Hook race and bobbin case |
| Dead stop at one exact point | Mechanical strike or bent part | Needle, hook, feed dogs |
| Uniformly stiff the whole way around | Dried, gummed oil | Hook race and shaft bearings |
Gritty and rubbery feels are good news: they usually mean fifteen minutes with tweezers and a brush. A dead stop at one exact point deserves more caution, because it can mean two parts are physically interfering with each other. Match your machine to a cause below instead of guessing.
Never grip the handwheel with pliers
Pliers, a wrench, or a rag for extra grip all multiply the force your hand can apply, and that force travels straight into the hook shaft and gears. If steady, gentle hand pressure cannot turn the wheel, stop and find the cause instead of forcing it harder.
The Usual Suspect: Thread Wound Into the Hook Race
Most stuck wheels trace back to this single cause. A few inches of top thread slip past the tension discs, catch on the spinning hook, and wind tight around the hook race in a matter of seconds. Once enough thread wraps the race, the hook cannot complete its turn and the handwheel locks solid.
Unplug the machine first, always, before your hands go anywhere near the needle or hook. Then work the freeing sequence:
- Remove the needle plate, usually one or two screws or a slide latch on newer models
- Lift out the bobbin and, on front loading machines, the bobbin case
- Pick at the visible wad with fine tweezers or a seam ripper, a few strands at a time
- Rock the handwheel a few degrees in each direction as the wad loosens, never forcing past resistance
- Repeat picking and rocking until the wheel turns one full free revolution
- Brush out leftover lint and thread fragments before replacing the bobbin case and plate
Work in small bites. A wad that looks solid usually comes apart in three or four pulls once you find the loose end, and the wheel loosens by degrees rather than all at once. If it gives a little more after each pull, you are on the right track even before it spins completely free.
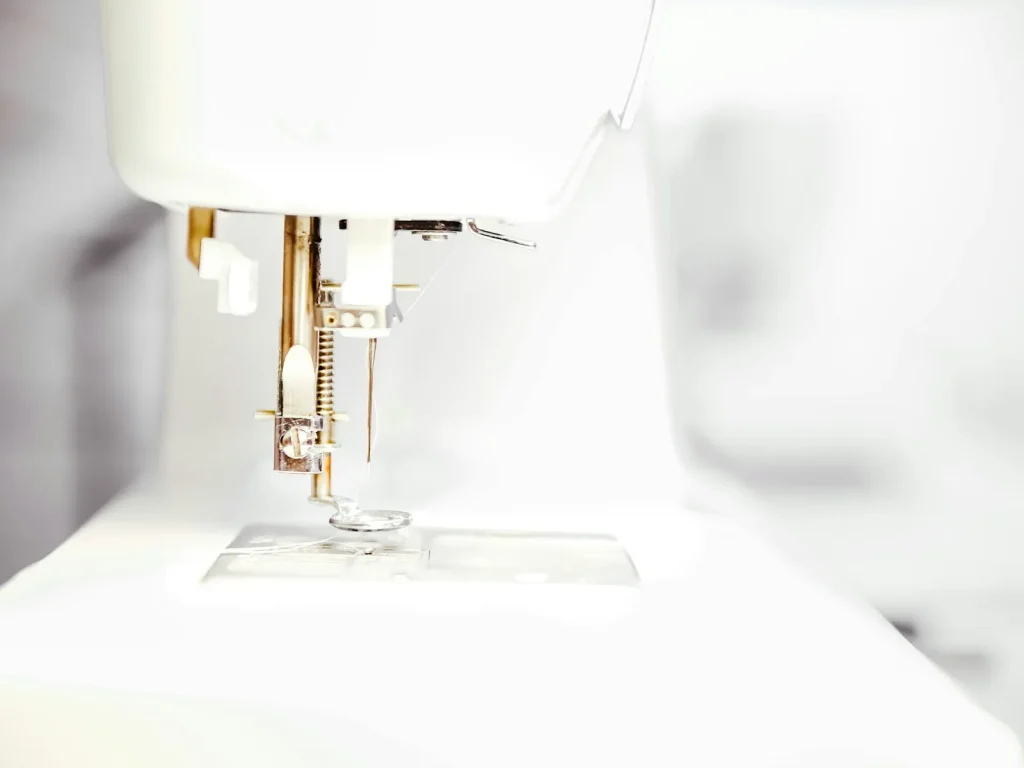
This cause explains the large majority of stuck wheels, and it is exactly why gentle-first matters. A wheel forced through a thread wad can drive that wad hard enough into the hook race to chip the hook tip, a repair that loose thread alone would never have caused.
The Ten Second Check: Is the Bobbin Winder Engaged
If the race is clear and the wheel still resists for normal sewing, look at the bobbin winder spindle next. On many machines, pushing the spindle right to wind a bobbin deliberately disengages the needle drive, so the wheel spins the winder instead of the needle and can feel locked for stitching.
Push the spindle back left, or to the position your manual marks for sewing, and try the wheel again. This one check solves a surprising share of stuck-wheel calls, and it costs nothing but a glance at the base of the machine.
Vintage Machines: The Clutch Knob Nobody Remembers to Retighten
Older mechanical machines, many Singers among them, build a clutch into the center of the handwheel. Loosening the small inner knob disengages the outer wheel from the drive shaft so you can wind a bobbin without the needle moving, the same job the winder spindle does on newer machines.
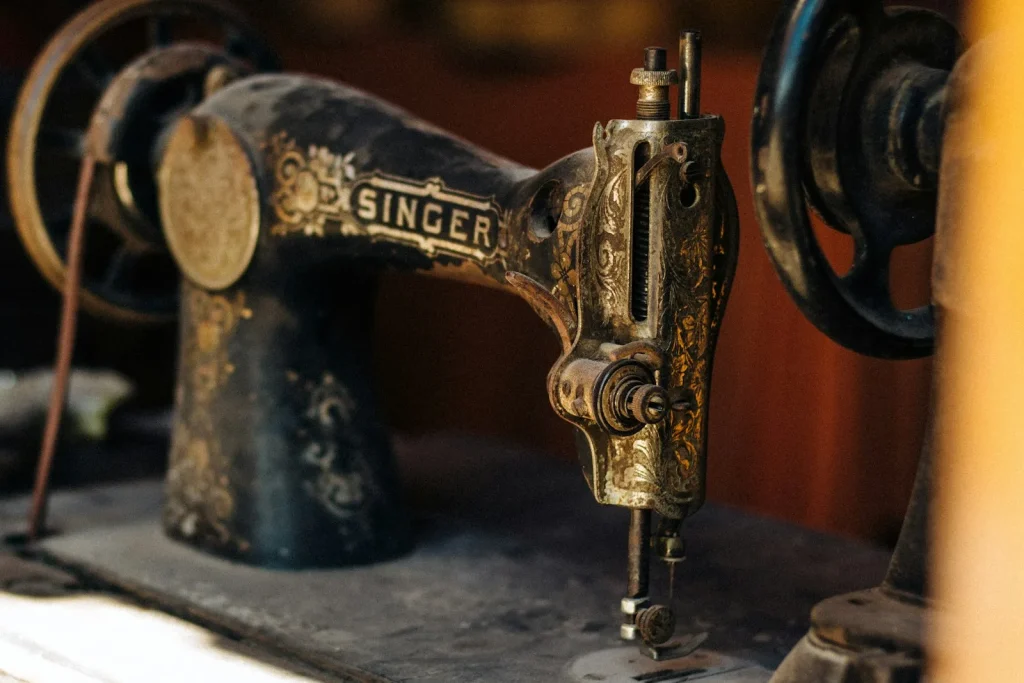
The trouble starts when that knob gets loosened for winding and never turned back. The outer wheel then spins loose against the shaft, which some owners describe as slipping rather than stuck, though both point to the same knob.
Hold the outer wheel steady with one hand and turn the small inner knob clockwise, snug but not wrenched, about a quarter turn past finger tight is usually enough. Try the wheel again; it should now carry the needle through a full stitch cycle.
When Old Oil Turns to Varnish
A machine pulled from a closet, a garage, or a relative’s attic after years of storage often turns stiff evenly all the way around the wheel, with no gritty spots and no dead stop. That even stiffness is the signature of old oil that has dried into varnish inside the hook race and shaft bearings.
Oil left unused for years does not stay liquid. It oxidizes, thickens, and eventually sets into a lacquer-like film that grips moving metal instead of lubricating it. The fix is patience, not force: one drop of fresh sewing machine oil on the hook race, then gentle rocking of the wheel a few degrees each way, repeated every ten minutes or so over an hour.
Each round of oil and rocking softens a little more of the old varnish and lets the wheel travel a little further than the round before. Skip WD-40 as a lubricant here; it evaporates fast and leaves the mechanism drier than it started. It does have one honest use in this situation, a light spray can help flush old varnish out of tight spaces, provided you follow it with real sewing machine oil afterward rather than leaving it as the only thing in the race.
Patience beats pressure here
An hour spent oiling and rocking a varnished machine costs one drop of oil, maybe two. Forcing the same machine can crack a gear that was never actually broken, only stuck to its neighbor by old, hardened oil.
The most stubborn case I have freed this way was a 1965 Singer that had spent about twelve years in a garage, its wheel frozen solid enough that the owner assumed the motor had died before ever turning it by hand. Four rounds of oil and rocking across one afternoon, maybe ninety minutes of real patience spread over a Saturday, and the wheel finally gave a quarter turn, then a half, then spun free. Nothing inside had actually broken. It only needed the varnish softened one drop at a time.
A Jam in the Feed Dog Slots
Fabric threads, a scrap of batting, or a fragment from an earlier needle break can wedge down into the narrow slots the feed dogs travel through. When the feed dogs cannot rise and fall freely, the drive train binds and the handwheel resists at the same point in the cycle every time, closer to a dead stop than a gradual drag.
Remove the needle plate and look straight into the slots with good light, a phone flashlight angled sideways works well. Pick out any visible fragments with tweezers, then brush the slots clean with the stiff brush from the accessory kit. Turn the wheel slowly by hand and watch the feed dogs rise and fall through a full cycle before you replace the plate.
Treat a snapped needle tip as the fragment to take seriously. It is small, sharp, and easy to miss at a glance, so run a fingertip carefully along the slot edges, needle removed from the machine first, if you broke a needle recently and the wheel seized soon after.
The One Cause That Really Is a Shop Job
If you have cleared the hook race, checked the winder spindle, confirmed the clutch knob is snug, oiled a suspected varnish problem for a full hour, and cleared the feed dog slots, and the wheel still stops dead at the same point with real mechanical resistance, you are likely looking at true seizure: a bent shaft, a struck gear, or a hook thrown out of position, usually from a drop or a hard jam forced through at some point in the past.
This is the one cause on the list a technician handles better than a home fix, because straightening a shaft or replacing a hook needs tooling and a trained eye for how far out of true the part actually sits. Expect to pay in the neighborhood of $75-150 for diagnosis and repair together, often less if the cause turns out to be simpler once the machine is on a bench with the covers off.
Get the Wheel Moving, Then Test Before You Sew
Once the wheel turns freely by hand through two or three full revolutions, replace the bobbin case and needle plate, rethread the machine completely, and test on a folded scrap before returning to your actual project. A wheel that turns easily empty but binds again once threaded points back to the hook race, so give it one more look before you sew anything that matters.
Five of the six causes above cost nothing but time: thread picked free, a winder spindle nudged back, a clutch knob snugged down, an hour of oil and patience, or a few fragments brushed out of the feed dog slots. Twenty minutes worked through them in order turns “the machine is broken” into “the machine needed cleaning” in almost every case that reaches a workroom table.
Only true mechanical seizure, the dead stop that will not budge after every gentle option is exhausted, belongs at a shop. Everything else on this list is well within reach at your own table, with tweezers, a drop of oil, and the patience to rock the wheel instead of forcing it.
Frequently asked questions
Why did my sewing machine handwheel suddenly stop turning?
The most common reason is thread that slipped past the tension discs and wound tightly around the hook race, which happens in seconds once a few inches of thread catch on the spinning hook. Unplug the machine, remove the needle plate and bobbin case, and pick the wad free with tweezers before trying the wheel again.
Is it safe to force the handwheel if it only feels a little stuck?
No. Even mild forcing can bend a hook shaft or shear a gear tooth, turning a free fix into a $75-150 repair. If steady, gentle hand pressure will not turn it, stop and work through the causes instead.
Can I use WD-40 to free a stuck handwheel?
Not as a lubricant, since it evaporates quickly and leaves parts drier than before. A light spray can help flush old varnish out of the hook race, but always follow it with a proper drop of sewing machine oil afterward.
How long does it take to free a machine stuck from old oil?
Plan on about an hour of patience, with one drop of fresh oil on the hook race and gentle rocking every ten minutes or so. Most machines loosen in four or five rounds, gaining a few more degrees of rotation each time.
When should I stop trying to fix a stuck handwheel myself?
Stop once you have cleared the hook race, checked the winder and clutch knob, oiled a suspected varnish problem for a full hour, and cleared the feed dog slots, and the wheel still stops dead at one point. That pattern usually means a bent shaft or struck gear, which is a $75-150 shop repair rather than a table fix.

Amit Sisodia
Amit Sisodia is a longtime sewing enthusiast and hobbyist repair tinkerer who has spent years diagnosing tension quirks, jammed bobbins, and stubborn feed dogs across everything from vintage treadle Singers to modern computerized machines. He writes practical, tested guides for BobbinWise so home sewists can spot problems early, tackle safe repairs themselves, and know when it's smarter to call in a technician.