Key takeaways
- The needle bar sits at the correct height when the hook crosses 1 to 2 mm above the needle eye as the needle rises from its lowest point.
- A hard needle strike, not gradual wear, is the usual reason a needle bar creeps upward inside its clamp.
- Mark the clamp and bar with paint before you loosen anything so you can always find your way back.
- Needle bar height and presser bar height are two different screws, and mixing them up wastes an afternoon.
- Machines with electronic needle positioning need a technician for this adjustment, not a screwdriver at the kitchen table.
The machine passed every test on the bench. A fresh 80/12 needle, seated all the way up. A hook race brushed clean of lint, and a slow handwheel sweep that showed the hook arriving right on schedule, cycle after cycle.
And still, one skipped stitch every few inches, steady as a metronome, on a plain seam through two layers of quilting cotton.
This is where most repair checklists run dry. Needle: fine. Threading: fine. Hook timing: fine. The part almost nobody checks next has been sitting in plain sight the whole time, the needle bar itself, and whether it rides at the height the hook actually expects.
A needle bar sitting even half a millimeter too high changes the entire handoff between needle and hook, and it does so without throwing any other obvious symptom. That is what turns an ordinary skip into a mystery.
What Needle Bar Height Actually Means
Every mechanical sewing machine clamps the needle bar to a driving link inside the head, usually with a small setscrew behind the faceplate. That clamp fixes how much of the bar hangs below it, which fixes exactly how low the needle travels and exactly where the eye sits at any point in the stroke.
Shift that clamp a hair in either direction and the whole stroke shifts with it. The crank still turns the same amount, the hook still arrives at the same instant, but the needle eye is no longer where the hook expects to find it.
This is a different fault from hook timing, which is about when the hook arrives. Needle bar height is about where the needle is when it gets there.
The Spec: Where the Hook Should Cross the Eye
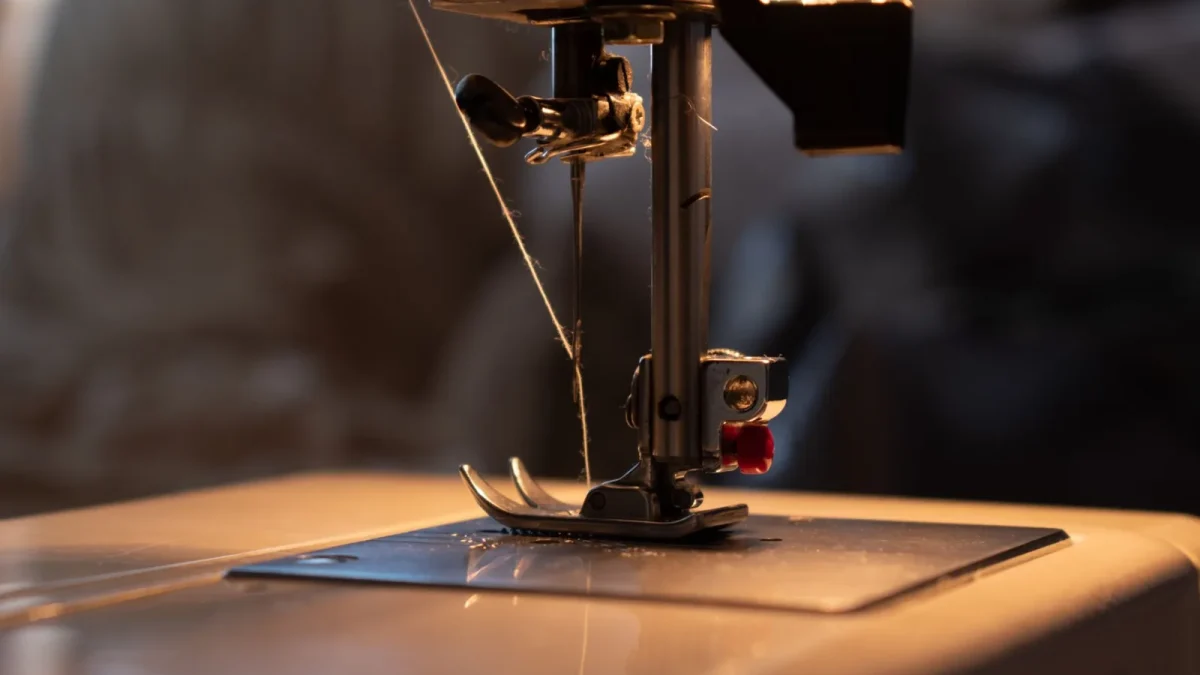
Here is the number that matters. The needle drops to its lowest point, then rises 2 to 2.5 mm. In that short rise, the top thread bulges into a small loop behind the scarf, the scooped notch just above the eye.
At that exact moment, a correctly set needle bar puts the eye where the hook tip crosses 1 to 2 mm above it, sweeping through the scarf and catching the loop clean.
Raise the bar even slightly and that window moves up with it. The hook still arrives on schedule, but now it finds the eye already at its crossing point or below. There is nothing left to catch, or only a sliver of loop, and the stitch skips.
Watch out
Do not confuse the needle bar clamp screw with the presser bar screw nearby. The presser bar controls foot height and pressure, not needle depth. Loosening the wrong one will not touch your skipping problem, and it will hand you a second problem to fix.
How a Hard Needle Strike Moves the Bar
Wear does not do this. A needle bar does not creep upward from years of ordinary cotton seams. What moves it is a strike, the needle hitting something solid while the machine is still driving it down.
A pin under the presser foot. A thick felled seam. A hidden pocket of hardware inside a garment. The needle stops hard, the bar absorbs the shock, and if the clamp is not gripping with full force, the bar can slide upward inside it by a fraction of a millimeter, enough to throw off the crossing point and not enough to bend anything you can see.
I see this most often after a strike nobody thought was serious. One machine came in skipping only on double thick denim, sewing clean everywhere else. The owner mentioned, almost as an afterthought, that she had gone straight through a metal zipper stop a few weeks earlier and the machine had clunked hard but kept running. That clunk was the strike. On thin fabric the margin was wide enough to hide the problem. On denim, the margin ran out.
Checking the Height Yourself
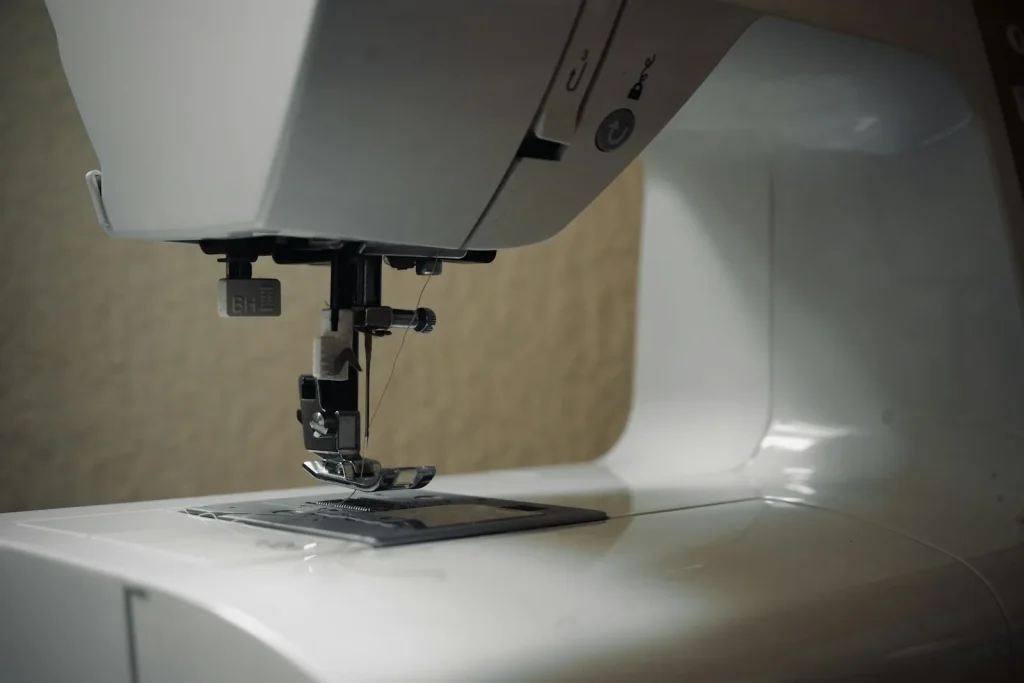
You do not need to loosen a single screw to check this, just the plate, good light, and a slow hand on the handwheel. Unplug the machine first, since this means working with your fingers close to the needle and hook.
Remove the needle plate and the bobbin case so the hook sits fully exposed. Turn the handwheel toward you slowly, watch the needle reach its lowest point, then keep turning through the 2 to 2.5 mm rise.
Watch exactly where the hook tip passes relative to the needle eye at that moment. On a correctly set bar, the tip crosses 1 to 2 mm above the eye, clearing it with a small visible gap. If the tip crosses right at the eye, or below it, the bar is sitting too high.
- Fresh needle installed, seated all the way up in the clamp.
- Plate and bobbin case removed so the hook is fully visible.
- Good light angled across the hook area, not behind you.
- Handwheel turned by hand only, slowly, toward you.
- Same check repeated across three or four full cycles for consistency.
Making the Adjustment on a Mechanical Machine
If the check confirms the bar is high, the fix lives behind the faceplate on most mechanical machines: a single clamp screw holding the needle bar to its driving link.
Mark before you move anything
Dab a small paint mark, nail polish works fine, across the clamp and the bar before you loosen the screw. If the adjustment does not help, you can return to this exact starting point instead of guessing where you began.
Many Japanese made mechanical machines etch two fine lines on the bar itself as a factory height reference. Turn the handwheel until the needle sits at its lowest point, bottom dead center, then loosen the clamp screw a quarter turn, no more.
Slide the bar until the upper etched line sits level with the bottom edge of the needle bar bushing, the metal guide the bar passes through just above the clamp. Hold the bar steady at that mark while you snug the screw back down, then turn the handwheel through a full cycle to confirm nothing shifted.
Recheck the hook crossing with the plate still off, looking for that same 1 to 2 mm gap above the eye. If it still looks off, loosen again, nudge a hair, and recheck. This is a patient job, not a fast one. Two or three small passes before it lands is normal.
Where Needle Bar Height Ranks Among Skip Causes
Needle bar height is real, but it is rare. Work through the more common causes first, in roughly this order, before a clamp screw ever comes off.
| Cause | How common | Quick check |
|---|---|---|
| Bent or dull needle | Very common | Fit a fresh needle matched to the fabric |
| Wrong needle for the fabric | Very common | Ballpoint for knits, sharp point for wovens |
| Threading missed the take up lever | Common | Rethread with the presser foot up |
| Lint packed under the bobbin case | Common | Brush out the hook area |
| Hook timing, meaning hook rotation | Uncommon | Handwheel sweep, hook arrives late or early |
| Needle bar height | Rare, usually after a strike | Handwheel sweep, hook crosses at or below the eye |
When This Is a Technician’s Job
Everything above assumes a mechanical machine with a visible clamp screw and etched reference lines. That covers a lot of vintage and mid range machines built from the 1950s through the 1990s, many of them Japanese made and still running in sewing rooms today.
Computerized machines are different. Needle position on these is often set electronically, sometimes with no mechanical height clamp for an owner to reach at all, and guessing your way through one can leave you with an error code instead of a working machine. If your machine has a digital screen and programmed needle positions, this is a $50 to $90 bench job for a technician, not a kitchen table project.
Even on a mechanical machine, this adjustment rewards patience over speed. Good light, small movements, and a willingness to recheck three times before calling it done will get you further than confidence alone.
Getting Back to Sewing
Start with the cheap, fast checks before a screwdriver ever comes near the clamp. Fresh needle, clean threading, a brushed out hook area. Those three fix most skipping on their own.
If skips remain after all three, and your handwheel check shows the hook crossing at the eye instead of above it, needle bar height is a reasonable next suspect, especially if you can point to a hard strike somewhere in the machine’s recent history.
Work slowly, mark your starting point before you loosen anything, and confirm the 1 to 2 mm crossing with the plate off before you call the job finished. That gap above the eye is the whole fix, and once you have seen it land correctly, you will recognize it on sight the next time a machine hands you this exact kind of trouble.
A useful companion piece here is Sewing Machine Tension: How It Really Works.
Frequently asked questions
What is needle bar height adjustment?
It is the process of resetting how far the needle bar sits within its clamp so the needle reaches the correct depth on every stroke. Done right, the hook crosses 1 to 2 mm above the needle eye at the exact moment the needle rises from its lowest point. A bar that has crept up inside the clamp misses that window even though timing and threading are correct.
How do I know if my needle bar height is off instead of the timing?
Do the handwheel check with the plate off and watch where the hook passes as the needle rises from bottom dead center. If the hook consistently crosses right at the eye or below it instead of 1 to 2 mm above, height is the likely cause, especially if a fresh needle and clean threading have not solved the skipping. Timing trouble usually shows up as no stitch at all, not an occasional skip.
Can I adjust needle bar height myself?
On a mechanical machine with a clamp screw behind the faceplate and etched timing lines on the bar, yes, with patience, good light, and a paint mark to track your starting point. Loosen the clamp screw a quarter turn, reset the bar against the marks, snug it, and recheck with the handwheel before closing the faceplate. On a computerized machine with electronic needle positioning, leave it to a technician.
Why did my needle bar move in the first place?
The most common cause is a hard needle strike, hitting a pin, a thick seam, or a metal zipper stop at speed, which can shove the bar upward inside its clamp by a fraction of a millimeter. That is enough to throw off the hook crossing point even though nothing else about the machine changed. A bent needle bar from a severe strike is a different problem and usually needs a shop visit.
What do the two lines etched on the needle bar mean?
Many Japanese made mechanical machines etch two fine lines on the needle bar as a factory reference for height. With the needle at its lowest point, the upper line should sit level with the bottom edge of the needle bar bushing, the metal guide the bar slides through. Lining those up resets the bar to the height the hook was designed around.

Amit Sisodia
Amit Sisodia is a longtime sewing enthusiast and hobbyist repair tinkerer who has spent years diagnosing tension quirks, jammed bobbins, and stubborn feed dogs across everything from vintage treadle Singers to modern computerized machines. He writes practical, tested guides for BobbinWise so home sewists can spot problems early, tackle safe repairs themselves, and know when it's smarter to call in a technician.