Key takeaways
- Tension dial numbers mark relative spring pressure on the discs, not a universal standard.
- The factory 4 assumes two layers of quilting cotton with 50wt polyester thread.
- Adjust half a number at a time and judge a 6 inch test seam by its underside.
- Raise the presser foot before changing the number so the discs can reset.
- After a deep clean, expect your balanced number to land lower than it used to.
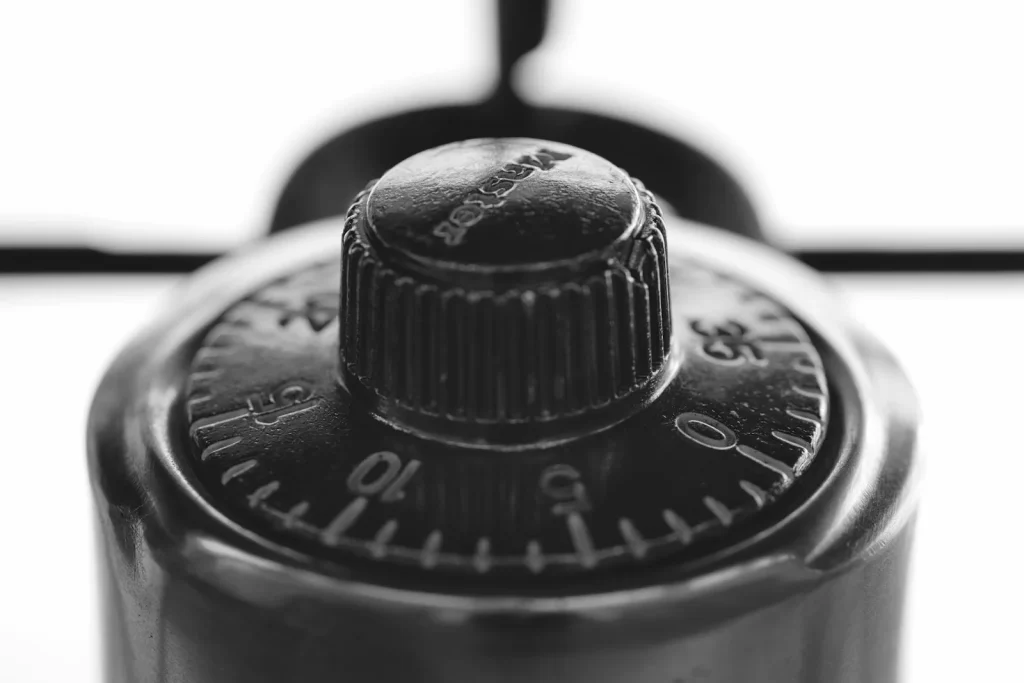
The tension dial turns with a soft, satisfying click. Every notch lands with the confidence of a bank vault door, and your thumb comes away certain that the machine knows exactly what it is doing.
That click is a small lie. The numbers do not measure grams, ounces, or anything else you could look up in a table of standards. They are relative marks on a spring, which is why a 4 on your machine and a 4 on your friend’s identical model can sew two different stitches.
Sewists ask the same handful of questions about this dial in every class and every repair drop-off. Here are the plain answers, with real numbers you can set on your own machine today.
What is the dial actually changing inside the machine?
Behind that numbered ring sit two polished metal discs with your top thread sandwiched between them. The dial compresses a coil spring, and the spring squeezes the discs together.
Turn the dial higher and the spring presses harder, so the thread drags more as each stitch pulls it down into the fabric. Turn it lower and the discs relax their grip. That is the entire mechanism: a thumbscrew on a spring, wearing a numbered costume.
Nothing about that spring is standardized between brands, or even between two machines from the same production week. A Janome 4 is not a Bernina 4, and neither matches the 4 on a 1975 Singer. The number only means something relative to your own machine.
One more part rides along with the discs: the check spring, the little wire arm that bobs while you sew. It manages slack between stitches and is set at the factory, so the dial remains the only tension part you should adjust from the outside.
What does the factory setting of 4 actually promise?
Manufacturers calibrate the midpoint, usually 4 or 4.5, against one reference recipe: two layers of quilting cotton sewn with 50wt polyester thread through the needle and in the bobbin.
Sew that exact combination on a healthy machine and 4 should bury the thread lock neatly between the layers. Change the fabric, the thread weight, or the layer count and the promise expires. From then on, 4 is a starting line, not a guarantee.
The recipe also explains why the middle of the dial feels so dependable. Quilting cotton with all purpose polyester is the most common pairing in home sewing, so engineers aim the sweet spot straight at it.
Why does the machine loop wildly at 0 and snap thread at 9?
At 0, the discs are wide open
Zero means zero grip. The top thread runs through without resistance, the bobbin thread wins the tug of war on every stitch, and loose top thread gets dragged underneath in big sagging loops.
The result is the classic bird’s nest under the needle plate. A dial bumped to 0 or 1 during a house move, or by a curious child, causes more of these than any broken part, so glance at the number before you assume the worst.
At 9, the discs clamp with real force
The top of the dial nearly coil binds the spring, and the discs grip hard enough to strain the thread itself. Heavy 30wt topstitching thread can survive that. A fine 60wt cotton or a delicate rayon stretches, puckers the seam, and then snaps outright.
Watch out
If your thread keeps breaking and the dial reads 7 or higher, suspect the setting before the spool. Fine thread that arrives at the needle already stretched will pucker every seam it manages to finish.
How far should I move the dial in one go?
Half a number. That is the whole rule, and it is the difference between adjusting and flailing.
Sew a 6-inch test seam on two layers of your actual project fabric with your actual thread, then flip it over and read the underside. Loops of top thread showing below mean the top is too loose, so go up half a number. Bobbin thread peeking through on top means the top is too tight, so come down half a number.
Repeat until the join between the two threads hides inside the fabric layers. Two or three passes usually settle it within 10 minutes, and you finish knowing the answer instead of hoping.
Change one variable at a time while you test. If you swap the needle, the thread, and the number all at once, a better stitch teaches you nothing, and a worse one hands you three suspects to interrogate.

Which numbers suit common fabrics and threads?
Every machine drifts from any chart a little, and every chart assumes a clean, correctly threaded machine. Treat these as starting points for a 0-9 dial and let your test seam refine them.
| Situation | Typical top setting | Notes |
|---|---|---|
| Two layers of quilting cotton, 50wt polyester | 4 | The factory reference recipe |
| Lightweight chiffon or georgette | 3 | Pair with a fresh 60/8 or 70/10 needle |
| Denim topstitching with 30wt thread | 5-6 | Lengthen the stitch to 3.5mm as well |
| Invisible nylon monofilament | 2-3 | Nylon stretches, so keep the grip light |
| Elastic thread wound on the bobbin | 4 | Leave the top alone, the shirring comes from below |
| Fine 60wt cotton piecing | 3.5-4 | Drop lower if the seam puckers |
Notice how narrow the working range is. Nearly everything you will ever sew lives between 2.5 and 6, and the far ends of the dial exist for rescues and specialty threads, not daily seams.
Why does turning the dial with the presser foot down do nothing?
Lower the presser foot and the tension discs clamp shut on the thread. On many machines, spinning the dial in that state simply rotates the numbered ring while the clamped discs keep holding their old pressure. The new setting cannot seat until the discs release.
So make the order a habit: raise the presser foot, set the number, lower the foot, sew the test seam. The lift opens the discs for a moment and lets the spring settle honestly into its new position.
That clamp also explains a familiar mystery, the adjustment that seems to do nothing and then kicks in one seam later. The change finally landed when the foot came up between seams and the discs reset themselves.
Why did my numbers drift after a cleaning?
Lint is a shim. A felt pad of fluff between the discs holds them slightly apart, and for months you compensate by creeping the dial upward without noticing.
Then comes a proper service. Unplug the machine before opening any covers, floss the discs with a folded strip of muslin, and all that padding disappears. The discs finally meet the thread directly, and the 5 you have trusted all year suddenly grips like a 6.
In my workroom, the machines described as suddenly too tight have almost always just been cleaned well, with the owner still sewing at the lint era number. Nothing is broken. Re-run the half number test and expect your balanced setting to land lower than before.
Tip
When you find the number that sews a balanced stitch on quilting cotton, write it on a strip of masking tape and stick it inside the top cover. After every service, house move, or mystery drift, that tape is your known reference point.
Give the dial a home base
Park the dial at your machine’s balanced cotton number, the one on the masking tape, whenever a project ends. Every new job then starts from a known state instead of wherever last month’s experiment left off.
When a new fabric or thread arrives, budget one scrap and five minutes. Sew the 6-inch test, read the underside, move in half steps, and jot the result on the pattern envelope. Future you will meet this fabric again and will be glad you kept notes.
The dial was never mysterious. It is a spring, a pair of discs, and a row of relative marks, and now you can read all three.
When the fix here does not hold, Automatic Tension Machines: Who Adjusts What is the sensible follow-up.
Frequently asked questions
Why is my tension dial suddenly stiff to turn?
A thread scrap or a wad of lint is usually jammed between the discs. Unthread the machine, raise the presser foot, and pull a folded strip of muslin through the disc slot several times. If the dial still binds after flossing, a technician can open and reset the tension unit, typically 40 to 80 USD.
Do computerized machines follow the same logic as a dial?
Yes. The touchscreen replaces the dial, but a spring and disc assembly still grips the thread, and the default still sits near 4. Adjust in the smallest step the screen offers, usually 0.2, and test on scrap fabric just as you would with a dial.
Should I adjust the bobbin case screw instead of the top dial?
Only after top adjustments fail on a proper test seam. The tiny screw on the bobbin case is far more sensitive than the dial, so move it a quarter turn at most. Mark its starting position with a fine marker first so you can always return to it.
What setting works for satin stitch and buttonholes?
Try about half a number to one full number below your balanced straight stitch setting. Dense zigzag looks best when the top thread rolls slightly to the underside, so a machine that likes 4 for straight seams often likes 3 to 3.5 for satin columns.
Does thread weight change the number I need?
Yes, because thicker thread fills more of the space between the discs and reads tighter at the same number. A 30wt thread often wants the dial half a number lower, while a fine 80wt may need half a number higher to stay controlled.

Amit Sisodia
Amit Sisodia is a longtime sewing enthusiast and hobbyist repair tinkerer who has spent years diagnosing tension quirks, jammed bobbins, and stubborn feed dogs across everything from vintage treadle Singers to modern computerized machines. He writes practical, tested guides for BobbinWise so home sewists can spot problems early, tackle safe repairs themselves, and know when it's smarter to call in a technician.