Key takeaways
- A thread nest that only appears at the first stitch is a technique problem, not a tension problem.
- Short, unheld thread tails let the take up lever drag the top thread down into the hook race on stitch one.
- Hold both tails lightly behind the presser foot for the first three or four stitches to stop the nest before it starts.
- Starting a quarter inch inside the raw edge gives the feed dogs something real to grip immediately.
- Leaders and enders, sewing scrap fabric between every seam, remove the start of seam nest completely.
The pedal goes down, the needle makes its first stitch, and something clunks. You lift the fabric to check and find a knot of thread jammed on the underside, top thread and bobbin thread twisted together in a mess that takes tweezers and patience to clear.
You cut it out, rethread, and try again. Same clunk, same knot, same spot: the very first stitch. Ten stitches in, the machine sews perfectly all day. It is only ever the start that goes wrong.
That pattern is the whole diagnosis. A nest that shows up only at the first stitch of a seam is not a tension problem, and it is usually not a broken machine. It is a handful of seconds at the start of every seam that need to happen differently.
This Nest Only Happens at the Start, and That Is a Clue
A bird’s nest that shows up in the middle of a long seam points to tension: a top thread too loose, a bobbin threaded wrong, lint packed into the discs. Chase the tension and the mid seam nest usually clears up.
A nest that only happens at stitch one, on an otherwise well behaved machine, is a different animal. Tension is fine ten stitches later, which means the discs and the bobbin case are not the problem. What is different about stitch one is the thread itself: two short, unheld tails, hanging loose the instant the needle drops.
Treating a start of seam nest like a tension fault sends people down the wrong road for months. They clean the machine, replace the needle, call a technician, and the nest keeps coming back, always at the same spot, because nobody has touched the actual cause.
What the Take Up Lever Does to a Short Tail
On the first stitch, the take up lever is already mid stroke, pulling thread upward to form the stitch before the fabric has moved at all. If the top tail is short and nothing is holding it, that first hard pull does not just tighten the stitch, it can drag the tail straight back down through the needle hole.
Once the tail drops into the hook race, the rotating hook grabs it along with the bobbin thread on the next stitch. The two threads wrap around each other and around the bobbin case, and by stitch three or four you have a solid knot jammed under the needle plate.
Every part of the machine did exactly what it was built to do. The take up lever pulled, the hook rotated, the thread wrapped. The only thing missing was a hand holding the tail still for those first few strokes.

Hold the Tails for the First Four Stitches
The fix costs nothing and takes four stitches. Before you press the pedal, pinch both the top thread tail and the bobbin tail lightly between two fingers, hold them behind and slightly to the side of the presser foot, and keep gentle tension on them through the first three or four stitches.
That light hold does one job: it keeps the take up lever’s first pull from yanking the tail down into the hook race. Once four stitches have locked the thread into the fabric, let go. The machine feeds normally from there.
Leave the tails long before you start, at least 4 inches or 10 cm. A short stub is much easier to drag down through the needle hole than a long tail you can actually pinch between two fingers.
Tip
If your machine has a needle down setting, turn it on. Starting with the needle already seated in the fabric, instead of hovering above it, keeps the start of the seam from shifting while you get your grip on the tails.
Start a Quarter Inch Inside the Edge
Dropping the needle right at the raw edge of the fabric gives it almost nothing to bite into on stitch one. The feed dogs have less fabric under them, the layers can shift, and the tails you are holding have to fight for control of a seam that barely exists yet.
Start a quarter inch, about 6 mm, in from the edge instead. That small buffer gives the feed dogs a real grip immediately and gives the first few locked stitches something stable to form around.
Fine or slippery fabric benefits from going one step further: start on a leader, a small folded scrap of plain cotton butted right up against the edge of your project. Sew off the leader and onto your fabric in one continuous line, then trim the leader away later. The machine gets its confident first bite on scrap fabric instead of on your good silk or chiffon.
Two Machine Parts Worth Checking Once
Technique solves most start of seam nests, but two machine details are worth a five minute check if the problem keeps returning even after you start holding your tails properly.
A burred needle plate hole
Run a fingernail gently around the edge of the needle hole in the plate. A tiny burr or rough patch, often left by a needle that once struck the plate, can snag a thread tail on its way past. A jeweler’s file or a trip to a technician, typically 20-40 USD, smooths it out.
A bobbin tail that missed the tension slot
Drop in bobbins usually need their tail drawn through a small tension slot or under a finger spring, not just dropped in loose. A bobbin sitting in the case with its tail free and untensioned feeds thread unevenly on those first stitches, which invites exactly this kind of tangle. Unplug the machine, open the bobbin cover, and confirm the tail is seated in its slot before you blame anything else.
Leaders and Enders: The Habit That Ends This for Good
Quilters solved this problem decades ago with a habit called leaders and enders. Instead of stopping the machine between seams, they keep a small folded scrap of fabric under the presser foot at all times.
Finish one seam, sew a stitch or two off the fabric and onto the leader scrap, then feed the next piece in right behind it without ever lifting the foot or cutting thread. The tails never sit short and unheld, because there is no true start to a new seam, just one continuous line of stitching interrupted by scraps.
Beyond ending the nesting problem, the habit saves thread and time, since you are not cutting and rethreading a tail for every single seam. Sewists who piece dozens of small seams in a session, like quilters and bag makers, often find this saves more frustration than any single setting change.
Your Start of Seam Ritual
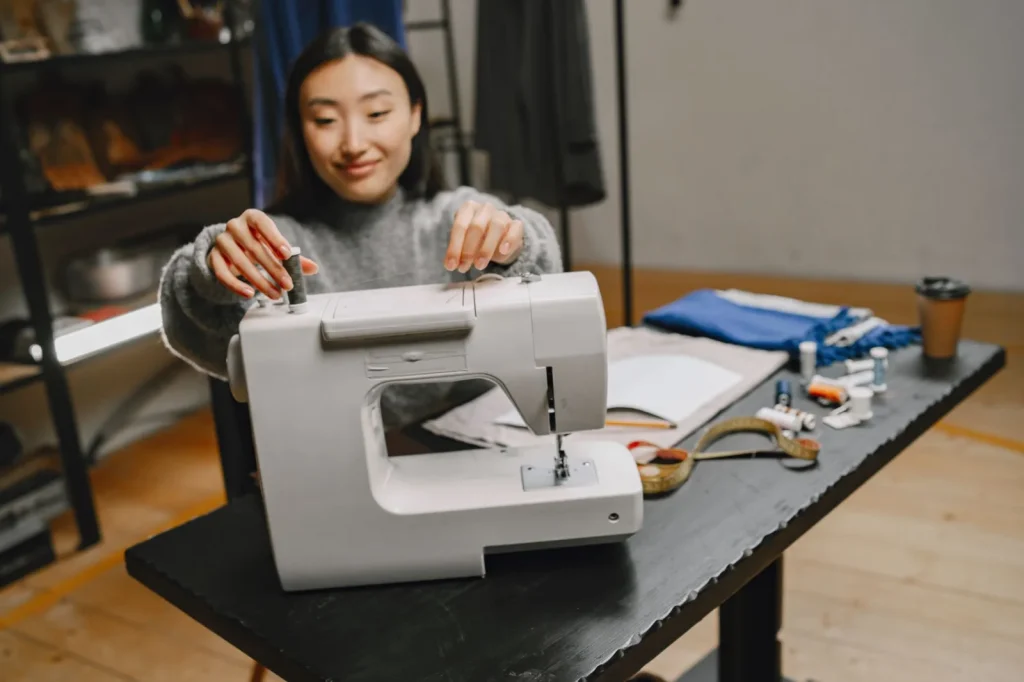
Turn this into a habit you do not have to think about. Run through it on your next project until it becomes automatic.
- Leave both thread tails at least 4 inches or 10 cm long before you start
- Pinch both tails lightly behind the presser foot
- Turn on the needle down setting if your machine has one
- Drop the needle a quarter inch in from the raw edge, not right at it
- Hold the tails through the first three to four stitches, then release
- For fine or slippery fabric, start on a folded cotton leader scrap first
The Beginner Who Kept Blaming the Machine
A student once brought in a machine she was ready to sell, convinced it was defective. She was piecing bag panels from canvas with fusible interfacing already bonded on, and every single seam nested at the first stitch, without fail.
Watching her sew one seam solved it in about ten seconds. She dropped the needle right at the cut edge of the stiff interfaced canvas, tails maybe half an inch long, hands nowhere near the fabric, and hit the pedal at full speed. The machine never had a chance.
We moved her starting point a quarter inch in, cut her tails long enough to pinch, and had her hold them for four stitches. The next twelve seams sewed clean. The machine she was ready to sell needed nothing except a different few seconds at the start of each seam.
If nests keep showing up at stitch one, resist reaching for the tension dial. Hold your tails, start a little inside the edge, and give the machine a real bite of fabric before you ask it to lock a stitch. That is nearly always the whole fix.
Frequently asked questions
Why does my machine only nest thread at the very start of a seam?
Because the top thread tail is short and unheld when the take up lever makes its first hard pull, which can drag the tail down into the hook race. Hold both tails for the first three or four stitches and the nest stops.
How long should I leave my thread tails before starting a seam?
At least 4 inches, about 10 cm, on both the top and bobbin thread. A tail that length still gives you enough to pinch between two fingers, while a half inch stub is nearly impossible to hold and control.
What does the needle down setting do, and does it actually help?
It parks the needle inside the fabric instead of above it whenever you stop sewing or pause the pedal. Starting from needle down keeps the fabric from shifting while you hold your thread tails, which reduces nests directly.
Do leaders and enders really prevent thread nests?
Yes, because you are never truly starting a new seam with short, unheld tails. Sewing off one piece onto a scrap and straight onto the next keeps the needle continuously locked into fabric, which is exactly the condition that avoids a nest.
Could a machine part be causing nests at the start of every seam?
Sometimes. Check for a burred needle plate hole that snags the tail, and confirm the bobbin tail is drawn through its tension slot rather than left loose in the case. Both are quick checks worth ten minutes if technique alone does not fully solve it.

Amit Sisodia
Amit Sisodia is a longtime sewing enthusiast and hobbyist repair tinkerer who has spent years diagnosing tension quirks, jammed bobbins, and stubborn feed dogs across everything from vintage treadle Singers to modern computerized machines. He writes practical, tested guides for BobbinWise so home sewists can spot problems early, tackle safe repairs themselves, and know when it's smarter to call in a technician.