Key takeaways
- Most Brother E codes point at a physical position, like a foot, lever, or thread path, not a broken part.
- The buttonhole lever only has two positions a Brother machine accepts: fully down or fully up.
- Brother control boards hold a fault in memory, so a full 30-second power cycle with the pedal unplugged clears codes a fix alone will not.
- E5 often means rethread the entire top path, even when the thread looks completely intact.
- F series codes are board-level faults that belong with a dealer, especially on a machine still under warranty.
The machine beeps twice, sharp and short, and two characters land on the screen. E6. Or E2. Or some combination of a letter and a number that meant nothing five seconds ago and now feels like the only thing that matters.
Brother built a real diagnostic language into these machines, not a generic warning buzzer. Every code points at a specific mechanical state: a lever in the wrong spot, a foot that never dropped, a bobbin area packed with thread. Nobody hands you the dictionary when you buy the machine.
Most of these codes clear in under two minutes once you know what they are actually reporting. A few of them mean stop, write the code down, and call the dealer before a screwdriver comes out.
This is the decoder ring: what E1 through the F series codes actually check, the real fix for each, and which ones are a kitchen table job versus a service ticket.
The E1 Code: A Presser Foot in the Wrong Position
E1 is almost always about the presser foot, not a hidden fault. Brother machines check foot position before certain stitches will run.
If the foot is up when the machine expects it down, or the safety interlock senses the foot lever is not fully seated, E1 flashes instead of the stitch starting. The fix is almost embarrassingly simple: lower the presser foot lever all the way, past the point where it just touches the fabric, until it clicks into its full down position.
If the code persists, cycle the needle position. Press the needle up or down button once or twice so the machine resets its read on where the needle and foot both sit, then try the stitch again.
On machines with a knee lifter, check that too. A knee lifter left partially engaged holds the foot just high enough to trigger E1 even when the hand lever looks fully lowered.
E2 and E3: The Buttonhole Lever Only Has Two Correct Positions
E2 and E3 both trace back to the buttonhole lever, the small arm that drops down behind the presser foot shank on machines with a one-step buttonhole function. That lever only has two positions the machine accepts: fully down or fully up.
Pull the lever straight down, as far as it goes, before starting a buttonhole stitch. Stop halfway and the machine sees a lever it cannot classify, and throws E2 or E3 depending on the model and firmware.
Once the buttonhole is finished, push the lever back up fully before switching to a different stitch. Leaving it in the half raised position is the single most common reason E2 or E3 reappears on a machine that just finished a clean buttonhole five minutes earlier.
A quick visual check catches this faster than troubleshooting from the screen. Look at the lever itself before assuming a deeper problem: nine times out of ten it is sitting in the gap between up and down.
E5: When the Thread Sensor Does Not Believe the Spool
E5 means the machine’s upper thread sensor tripped, either from an actual break or from a change in tension the sensor read as one. That second part surprises a lot of owners, because the thread often looks completely intact when the code appears.
The sensor is not just checking for the presence of thread. It reads tension as thread pulls through the take up lever, so a snag at the spool, a thread trapped under the spool cap, or a stray loop around a guide can all mimic a break even though nothing actually snapped.
The fix is to rethread the entire top path from the spool, even when the thread looks fine. Jumping straight to the needle and rethreading only the last two inches rarely clears E5, since the problem usually sits further back in the path.
Check that the spool cap allows the thread to unwind freely, and confirm the thread sits fully inside the tension discs, not riding on top of them. Thread that slipped above the discs still unwinds, but never sees real tension, and the sensor reads that inconsistency as a fault.
E6: Clearing a Jam and Running the Reset Ritual
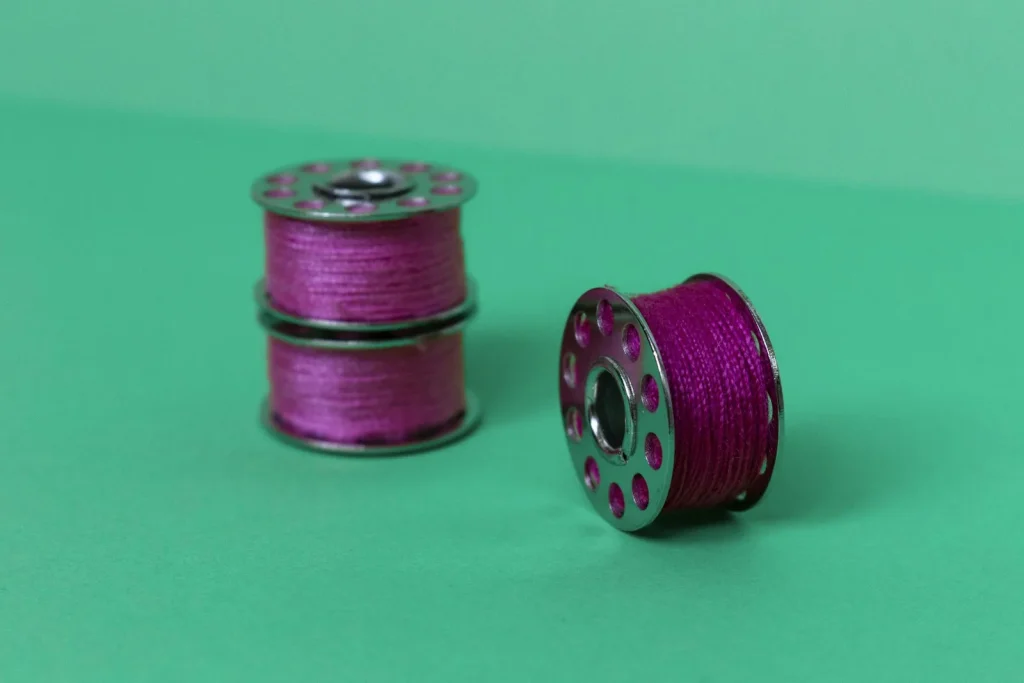
E6 is the code most home sewists meet first, and it usually means one of two things: thread jammed in the bobbin area, or the safety clutch on the handwheel tripped from resistance the motor could not push through.
Start by unplugging the machine. Open the bobbin cover and the needle plate if needed, and clear every scrap of jammed or tangled thread from the hook race and bobbin case, working slowly so you do not push thread deeper into the mechanism.
If the handwheel feels stiff or will not turn by hand after a jam, do not force it and do not power the machine on yet. A tripped safety clutch protects the motor and gears from that same jam, and forcing the handwheel against it can strip the clutch instead of simply resetting it.
Once the race is genuinely clean and the handwheel turns freely, run what techs call the reset ritual: power off, unplug the foot pedal from its port, wait a full 30 seconds, then plug the pedal back in and power on. Brother’s control boards hold the fault in memory until a complete power cycle clears it, so restarting too fast, or skipping the pedal unplug, can leave E6 flashing on a machine that is now mechanically clean.
If E6 returns immediately on a machine with a clean, empty bobbin area and a freely turning handwheel, that points toward the clutch itself or a deeper timing issue, worth a dealer’s diagnostic bench rather than repeated home resets.
E7 and the F Series: Where DIY Ends
E7 signals that something jammed the main motor hard enough that it could not complete its stroke, separate from the thread jams that usually cause E6. Fabric bunched under the foot, a thick seam the needle could not clear, or an object that fell into the mechanism can all trigger it.
Clear whatever is obstructing the needle and feed area, run the same power off and pedal unplug reset used for E6, and try a slow test stitch on scrap fabric. Most E7 codes clear right there.
If E7 repeats on a machine that is completely clear and freshly reset, with nothing jamming the needle or feed dogs, that points to a motor or drive train problem rather than a jam, and it belongs with a technician.
F series codes sit in a different category entirely. These are board-level faults tied to the machine’s internal electronics rather than a mechanical position a reader can correct by hand. Write down the exact code, including the number after the F, and call the dealer with it ready.
Under warranty
An F code on a machine still under warranty should never meet a screwdriver at home. Opening the case yourself is one of the fastest ways to void coverage that would otherwise pay for the board repair outright.
Two Traps That Look Like Errors But Are Not
Two situations get mistaken for hard faults constantly, and neither one is actually broken.
The first is the screen lock, marked with a small wrench icon on most Brother touchscreen models. Brush that button while moving the machine and the display stops responding to anything, which looks exactly like a frozen or failed screen. Find the wrench icon and tap it to clear the lock before assuming the worst.
The second is the bobbin winder position. On several Brother models, a winder shaft left engaged even slightly to the right after winding a bobbin reads as an error the moment you try to sew. Push the winder shaft firmly back to the left until it clicks before starting the machine again.
Both checks cost nothing and take less than 10 seconds, which makes them worth ruling out before any deeper troubleshooting on a machine that seemed fine five minutes earlier.
Brother Error Code Quick Reference
Keep this nearby for the next time a code flashes and clears before you finish reading it.
| Code | Meaning | Fix | Call the dealer if |
|---|---|---|---|
| E1 | Presser foot or needle position not where expected | Lower the foot fully, cycle the needle position button | Persists with the foot fully down and the lever checked |
| E2 / E3 | Buttonhole lever in an unrecognized middle position | Pull fully down for buttonhole stitches, push fully up otherwise | Persists with the lever fully seated either direction |
| E5 | Upper thread break or tension sensor tripped | Rethread the full top path from the spool, reseat in the tension discs | Persists after a full rethread with new thread |
| E6 | Bobbin area jam or safety clutch tripped | Clear the race, run the 30-second reset with the pedal unplugged | Returns immediately on an empty, clean bobbin area |
| E7 | Main motor jammed mid stroke | Clear the obstruction, run the reset, test on scrap | Repeats on a clear, freshly reset machine |
| F series | Board-level electronic fault | Log the exact code, power cycle once | Always, especially under warranty |
Before it clears
Photograph the screen the moment a code appears, before it disappears or the machine resets on its own. A clear picture of the exact code saves a call to the dealer spent describing some kind of E and a number from memory.
Every bench tech has watched a customer describe a code from memory and get the letter or number wrong, which sends the whole diagnosis down the wrong path before the machine is even opened. A quick photo avoids that entirely.
The pattern across almost every code above repeats: check a physical position first, run the proper reset second, and treat a repeated code on a genuinely clean, clear machine as the signal to stop. Brother built these codes to save a service call, not replace one entirely.
Keep the manual’s code page photographed on your phone, since not every code ships in the quick reference above. When the fix listed here does not hold after two honest attempts, that is the machine telling you this one needs a bench, not another guess.
Frequently asked questions
What does E6 mean on a Brother sewing machine?
E6 usually means thread has jammed in the bobbin area, or the safety clutch on the handwheel tripped from resistance the motor could not push through. Clear the bobbin case and hook race first, confirm the handwheel turns freely by hand, then run a full power off reset with the foot pedal unplugged for 30 seconds. If E6 returns on a genuinely clean, empty machine, the clutch itself likely needs a technician.
Why does my Brother machine still show an error after I already fixed the problem?
Brother control boards store the fault in memory until a complete power cycle clears it, so the code can outlast the cause by several minutes if you just restart quickly. Power the machine off, unplug the foot pedal, wait a full 30 seconds, then reconnect and power back on. Skipping the pedal unplug step is the most common reason a cleared jam still shows an error.
What is the wrench icon on a Brother sewing machine screen?
The wrench icon marks the screen lock, a feature that stops the touchscreen from responding to accidental taps while the machine is being moved or stored. It looks identical to a frozen display at first glance, but the fix is a single tap on the wrench icon rather than any repair. Check it before assuming the screen itself has failed.
Can I fix a Brother F series error myself?
No. F series codes point to a board-level electronic fault, not a mechanical jam or position you can correct by hand. Write down the exact code, including the number after the F, and call the dealer with the machine's model number ready. Opening the case yourself on a machine still under warranty can void the coverage that would otherwise pay for the repair.
Why does E2 keep appearing even though I pulled the buttonhole lever down?
The lever needs to travel all the way to its full down position, and a lever that stops even a few millimeters short still reads as an unrecognized middle position to the machine. Push it down again with slightly more pressure until you feel it stop completely. If it still will not seat, the lever's internal switch may need a dealer's attention.

Amit Sisodia
Amit Sisodia is a longtime sewing enthusiast and hobbyist repair tinkerer who has spent years diagnosing tension quirks, jammed bobbins, and stubborn feed dogs across everything from vintage treadle Singers to modern computerized machines. He writes practical, tested guides for BobbinWise so home sewists can spot problems early, tackle safe repairs themselves, and know when it's smarter to call in a technician.