Key takeaways
- A full hour of cleaning, oiling, and testing catches most of what goes wrong between annual services.
- Tension drifts more often from a bumped dial during cleaning than from any real mechanical fault.
- A light burr on the needle plate polishes out with 600 grit sandpaper in under a minute.
- Computerized machines still deserve a professional visit every 2-3 years for diagnostics a home kit cannot run.
- A three-column log card in the accessory tray turns one good year into an early warning system for the next five.
Every sewist means to book the annual service. The reminder sits in a phone, then in a drawer, then in a growing pile of good intentions, while the machine keeps sewing anyway, a little louder every month.
There is a shorter version of that appointment, one that fits between two cups of coffee on a Saturday morning. It will not replace everything a bench technician does in a full service. It will replace almost everything that actually goes wrong between now and next year.
Sixty minutes, eight short stops, one machine that runs in July the way it did back in January instead of a little worse with every project in between.
The Eighty Percent You Can Actually Do
A professional service covers roughly the same ground a determined owner can reach with a screwdriver, a soft brush, and a bottle of clear oil: cleaning, lubrication, inspection, and the settings a sewist already adjusts by hand. That territory accounts for most of what keeps a machine running well from one year to the next.
The remaining 20 percent stays on the shop bench on purpose. Timing verified with feeler gauges and a dial indicator, motor service, and circuit board diagnostics all need tools and training a home sewing room will never have, and guessing at any of the three usually turns a $70 visit into a $200 one. This hour skips those three by design, not by accident.
Here is the whole hour, start to finish. Each stop gets a closer look in the sections below.
- Minutes 1-10: full strip and brush-out of the plate, case, hook race, and feed dogs
- Minutes 11-15: floss the tension discs and wipe the thread path
- Minutes 16-20: inspect the bobbin case and check the needle plate for burrs
- Minutes 21-30: oil per the manual and hand-cycle the machine
- Minutes 31-35: check the cord, plug, and pedal, then wipe the exterior
- Minutes 36-45: reset tension and presser pressure, and eyeball the timing sweep
- Minutes 46-55: sew the test protocol on two fabrics
- Minutes 56-60: write the log entry
Minutes 1-10: Strip It Down and Brush It Out
Unplug the machine before any cover comes off. This is the one stop in the whole hour where fingers end up near the needle and the hook, so make it a reflex before anything else.
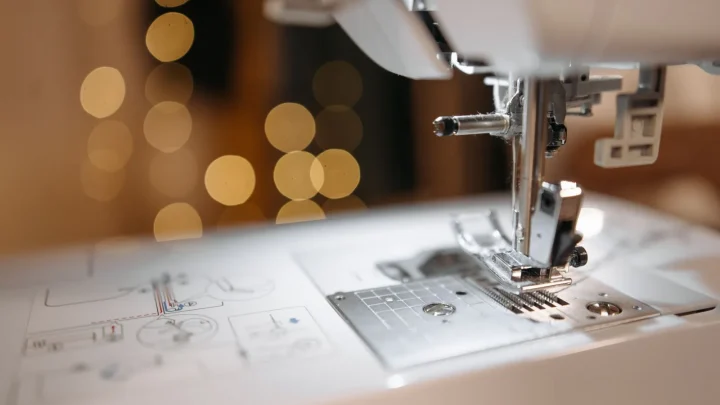
Remove the needle plate with the small screwdriver from the accessory box, lift out the bobbin case, and set both on a cloth so no screw rolls under a cabinet. What is left exposed is the hook race and the feed dogs, and on a machine sewn even a few hours a month, both are packed with a gray felt of lint that looks harmless and is not.
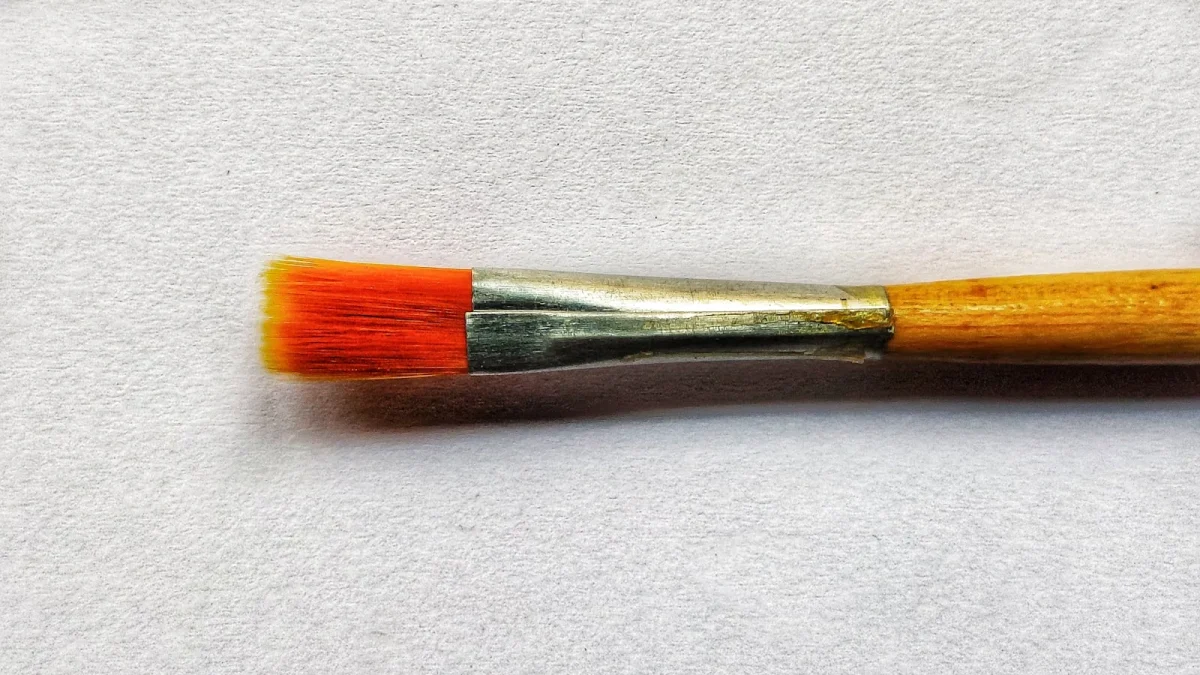
A dry paintbrush, the soft half-inch size sold in any hardware aisle, knocks lint out of the feed dog channels and off the race. Follow it immediately with a vacuum nozzle, the narrow crevice attachment if the machine came with one, held close enough to actually pull lint out instead of pushing it deeper. Ten minutes clears a full year of normal home sewing out of most machines.
Minutes 11-20: Discs, Bobbin Case, and the Needle Plate
Floss the Tension Discs
Cut an 8 inch length of plain cotton dental floss, unwaxed, and run it flat between the two tension discs with the presser foot up and the dial set to zero. Work it side to side like a shoeshine cloth for a few passes, then pull a scrap of muslin through the whole thread path from spool pin to needle to catch anything the floss missed.
Check the Bobbin Case and the Needle Plate
Hold the bobbin case up to a window and look at the finger spring along its edge. It should sit flat and even with no gap or twist. A spring bent even slightly changes bobbin tension more than most dial adjustments do, and a case with a nick or a burr on its edge runs $8-15 to replace, which is cheaper than fighting it for a season.
Run a fingertip, not just an eye, along the needle hole in the plate. A light burr, the kind raised by one bent needle striking metal, catches a fingernail before it catches thread. Polish it out with 600 grit wet or dry sandpaper or a crocus cloth, a few light passes with the plate held flat, then wipe the grit away before it falls into the hook race.
Minutes 21-35: Oil, Hand-Cycle, and the Exterior Pass
Oil, Then Hand-Cycle
Open the manual to the maintenance page and confirm where this specific machine wants oil. A front-load mechanical machine usually asks for one drop at the hook race, while some computerized machines with sealed, factory-greased mechanisms ask for none at all. Oiling a sealed point does not help it and only gives new lint something to stick to.
Where oil belongs, one drop is the rule, not a squeeze. Apply it, then turn the handwheel by hand for a full 30 seconds to work the oil around the race and the shafts before the machine gets threaded. This is also when a stiff spot or a new tick under your fingers becomes obvious, months before it would otherwise announce itself as a repair bill.
Cords, Pedal, and the Exterior
Run a hand along the power cord at both ends, the plug and the point where it enters the machine, feeling for cracked or soft insulation at either strain relief. Confirm the plug seats fully in the outlet without wiggling, then press the pedal through its full travel checking for dead spots or a sudden jump partway through.
Wipe the case and the bed with a barely damp cloth, then dry them. That is the entire exterior step, five minutes, and it is the one most owners already remember to do without being told.
Minutes 36-45: Put the Settings Back Where They Belong
Every spring a machine arrives sewing beautifully except for one detail: the tension knob got bumped during last year’s cleaning, and nobody checked it against a test seam before the first real project of the season. That single missed step causes more mid-project frustration than every mechanical fault on this list combined.
Thread the top in one color, wind a bobbin in a clear contrast, and sew 10 cm of straight stitch on doubled cotton at the tension setting the dial already shows. Bobbin color surfacing on top means the top tension is pulling too hard; top color showing underneath means the reverse. Adjust the dial a quarter turn at a time and resew until the knot buries itself in the middle of the fabric.
Set presser foot pressure back to its default mark, usually a dot or a number printed near the dial, since a pressure knob wanders during cleaning almost as often as tension does. Finish by leaving the needle plate off and turning the handwheel slowly, watching where the needle and the hook point meet. On most machines the hook point should reach the needle right as the needle rises about 2 mm above its lowest point. That eyeball check will not replace a gauge, but it catches an obviously wrong symptom, like a hook arriving a full beat late, before it turns into a skipped-stitch mystery.
Minutes 46-55: Sew the Test Protocol
Layer two pieces of standard quilting cotton and sew three things: a straight stitch line at 2.5 mm, a zigzag at a medium width and length, and a full buttonhole with the machine’s standard buttonhole foot. Then repeat the straight and zigzag lines on whatever fabric this machine actually sees most, denim, a knit, or a home-dec weight, since a setting that looks perfect on quilting cotton can still misbehave on the fabric a closet actually holds.
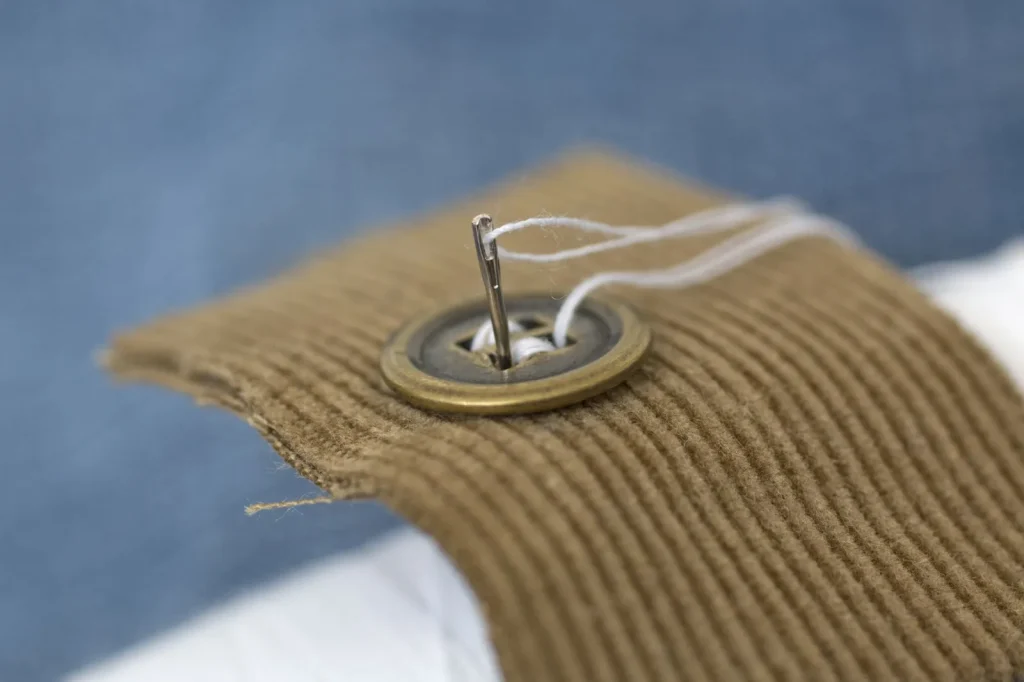
Watch for the small tells: thread nesting on the underside, a wobble in the zigzag width, or a buttonhole that stacks stitches unevenly on one side. Any of those on both fabrics, right after a proper cleaning and a fresh tension test, is worth writing down. Any of them on only the difficult fabric is often just that fabric.
Minutes 56-60: The Log Card That Pays Off Next Year
Keep an index card in the accessory tray, the same one that holds the extra bobbins. Three columns are enough: date, hours or projects sewn since the last entry, and whatever this hour turned up, tension drifted a quarter turn, needle plate had a light burr, cord felt slightly stiff near the plug.
A single year of this card looks like nothing. Three or four years of it becomes the earliest warning system a home machine can have, since a technician reading several years of two-line entries can often spot a slow problem, a bearing wearing, oil breaking down faster than it should, before the machine gives any obvious sign on its own.
Pick a week and keep it
Anchor this hour to something that already repeats: the week school starts, the first cold morning, a birthday. A fixed week beats a floating one on a to-do list, since a date tied to nothing gets bumped every year by whatever feels more urgent that day.
When the Shop Visit Still Belongs on the Calendar
This hour is not a replacement for professional service on every machine, every year. Three situations still call for a bench technician regardless of how clean and well-oiled the machine already is.
- Computerized machines, every 2-3 years, for board-level diagnostics and calibration this hour cannot touch.
- Any timing or motor symptom: a hook that sounds like it is arriving late, a motor running hot, sparking, or slowing under normal fabric.
- Machines still under warranty, since opening the case yourself can void coverage a shop visit would not.
| Task | DIY hour | Shop only |
|---|---|---|
| Lint removal at the plate, case, race, and feed dogs | Yes | |
| User-point oiling | Yes | |
| Tension recalibration by test seam | Yes | |
| Presser pressure reset to default | Yes | |
| Needle plate burr polish | Yes | |
| Timing verified with a feeler gauge or dial indicator | Yes | |
| Motor brush and bearing service | Yes | |
| Circuit board diagnostics | Yes |
None of this hour needs specialized tools. A screwdriver, a soft brush, a vacuum, oil, floss, and a scrap of sandpaper cover every stop on the list, and most of it likely already sits in the sewing room somewhere.
Run it once this year and the machine will report back plainly, through the test seam and the sound under your fingers, whether it needs anything more than an hour can give it. Most years, for most machines, it will not.
Write the date on the card before the tray goes back together. That one line is what turns good intentions into a habit the machine actually benefits from.
Frequently asked questions
How long does a full DIY sewing machine service actually take?
About an hour for a machine in normal home use, broken into eight short stops from a strip-down brush-out to a final test seam. A heavily used machine or a first-time service can run closer to 90 minutes since lint and old oil both take longer to clear the first time through.
Can I check sewing machine timing myself without a shop visit?
You can eyeball an obviously wrong symptom, like a hook arriving a full beat late when you turn the handwheel with the plate off, but a real timing check needs feeler gauges and training to set correctly. Treat any suspected timing fault as a reason to book the shop rather than adjust it yourself.
What grit sandpaper is safe for a burr on the needle plate?
600 grit wet or dry sandpaper or a crocus cloth removes a light burr without taking off meaningful metal. Use light passes with the plate held flat, wipe away the grit afterward, and stop as soon as a fingernail no longer catches on the hole.
How often should a computerized machine still see a professional technician?
Every 2-3 years, even if the yearly DIY hour keeps it clean, oiled, and stitching evenly. Board-level calibration and diagnostics need equipment a home service cannot include, and catching a drifting sensor early is far cheaper than a failed board later.
What belongs in a sewing machine service log?
Three things: the date, hours or projects sewn since the last entry, and whatever the hour turned up, even something as small as a quarter turn of tension drift. Kept on an index card in the accessory tray, a few years of entries can show a technician a pattern no single visit would reveal.

Amit Sisodia
Amit Sisodia is a longtime sewing enthusiast and hobbyist repair tinkerer who has spent years diagnosing tension quirks, jammed bobbins, and stubborn feed dogs across everything from vintage treadle Singers to modern computerized machines. He writes practical, tested guides for BobbinWise so home sewists can spot problems early, tackle safe repairs themselves, and know when it's smarter to call in a technician.