
Key takeaways
- Tension myths spread because a few of them used to be halfway true on decades old machines, not because they hold up today.
- Quarter turns on the bobbin case screw are safe once the top dial has already been tried on a real test seam.
- Loops on the underside almost always point back to the top thread, not the bobbin, so start adjustments there.
- Bargain thread varies in thickness along its own length, which keeps tension from ever staying balanced.
- A two color test seam, one color on top and another in the bobbin, replaces guesswork with an answer you can see.
A woman at a guild meeting once announced, loud enough for three tables to hear, that touching the little screw on the bobbin case would ruin any machine for good. Six heads nodded along like she had just read it off a warranty card.
She was wrong, and so is most of what gets repeated about tension in guild rooms and hand me down sewing wisdom. These myths spread because a few of them used to be halfway true on machines built decades ago, and a scary rumor is more memorable than a calm explanation.
Seven of these myths cause more ruined seams than any actual mechanical fault. Here is each one stated plainly, why it sounds convincing, what is actually true, and exactly what to do instead.
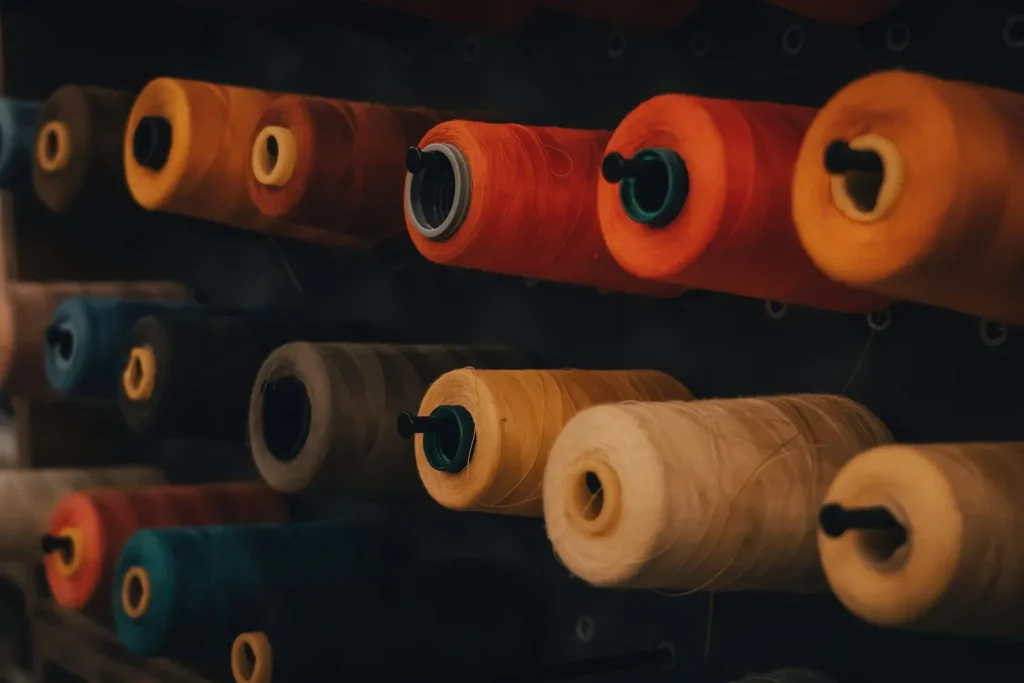
Myth: Never Touch the Bobbin Case Screw
The claim: that tiny screw on the bobbin case is off limits to anyone without a repair license, and one wrong turn ruins the case for good.
People believe it because the screw is small, and a nervous beginner who loses the factory setting has no easy way back to it.
The truth: a quarter turn at a time is safe, reversible, and sometimes the only way to fix a genuine bobbin tension problem. The real rule is simpler: try the top dial first, since most tension complaints trace back to the top thread.
Tip
Before you turn the bobbin screw for the first time, mark its starting position with a fine paint pen dot across the screw head and the case. A quarter turn clockwise tightens, a quarter turn counterclockwise loosens, and the dot always shows you the way home.
The action: exhaust top dial adjustments on a proper test seam before you touch the bobbin screw at all. If bobbin thread still shows on top after that, a quarter turn is a normal, safe repair step.
Myth: Automatic Tension Means Tension Cannot Be the Problem
The claim: a computerized machine that sets tension by itself has removed tension from the list of possible suspects entirely.
This one sounds reasonable, since the machine reads your stitch and fabric selection and dials in a number without asking.
The truth: automatic tension still runs the top thread through the same discs and spring as a mechanical machine. It can select a sensible number, but it cannot fix a thread that skipped a guide, and it cannot clear lint packed between the discs.
The action: treat an automatic machine’s tension unit exactly like a manual one. Rethread with the presser foot up when a stitch looks wrong, and floss the discs every few months, since automatic only chooses the number, it does not exempt the mechanism from dirt.
Myth: The Dial Number Is a Universal Standard
The claim: a 4 is a 4, so a setting that works on a friend’s machine, or a number quoted in an old sewing book, should work the same way on yours.
Numbers feel objective, like inches on a ruler.
The truth: each dial controls a spring specific to that machine, so the numbers are relative, not universal. A Bernina 4 and a fifty year old Singer 4 can produce two completely different amounts of drag on the exact same thread.
The action: find your own machine’s balanced number with a real test seam on your usual fabric and thread, then write it down. Treat any number from a book, a class, or a friend’s machine as a starting guess, never a setting to copy blind.
Myth: Once You Find the Right Setting, It Never Changes
The claim: dial in the perfect number once, tape a note next to it, and you are set for the life of the machine.
It is tempting to believe, since finding that number took real effort, and nobody wants to repeat the work every season.
The truth: humidity, a new batch of the same thread, lint buildup, and a change in fabric can all shift what number balances your stitch. A number that sewed beautifully in a dry January can pull noticeably tight by a humid August.
The action: treat your saved number as a starting point, not a permanent fix. Run a quick test seam whenever you switch fabric, open a new spool, or notice the season change, and nudge from there.
Myth: Loops on the Underside Always Mean a Bobbin Problem
The claim: if the mess shows up underneath the fabric, the bobbin must be the broken part, since that is the thread living down there.
It feels logical. The loops appear closest to the bobbin case, so blaming the part right next to the mess seems fair.
The truth: loops on the underside point to the top thread almost every time. The top thread is not being pulled down far enough to lock inside the fabric, so it piles up in loose loops on the bottom instead. This is the which side rule technicians use: whichever side looks messy, the fix usually lives on the opposite side, which for most home machines means the top dial.
The action: before you touch the bobbin case, rethread the top completely with the presser foot up, then raise the top dial half a number and sew another test seam. Save the bobbin screw for the rare case when a proper top fix does not resolve it.

Myth: Expensive Thread Does Not Matter, Any Spool Sews the Same
The claim: thread is thread, so a bargain three for a dollar cone from a discount bin performs the same as a name brand spool.
Bargain thread looks fine on the shelf, wound tight on a bright plastic spool, so the price gap feels like pure markup.
The truth: cheaper thread commonly varies in thickness along its own length, thin in one stretch, slightly thick a yard later, since manufacturing tolerances are looser. Tension discs squeeze a constant gap, so thread that keeps changing width cannot pull through with even drag no matter what number you dial in.
Watch out
Do not test a bargain spool on the final seam of an heirloom quilt or a wedding project. Save unpredictable thread for scrap testing only, and switch to a consistent spool before the seams that actually need to hold.
The action: save bargain thread for basting or testing, where inconsistent tension does not matter. For garments and quilts, spend on a consistent midweight polyester or cotton thread, and floss the discs more often if you keep sewing with the cheap stuff, since it also sheds more lint.
Myth: If Tension Looks Off, Rethreading Is a Waste of Time
The claim: rethreading is the beginner move, so anyone with real experience should go straight to adjusting the dial number instead.
Skipping ahead feels like the more efficient choice, especially when you rethreaded five minutes ago and assume the thread is still seated.
The truth: a full rethread, done with the presser foot up, fixes the majority of tension complaints on its own. The most common miss is threading with the foot down, which means the thread never actually seated between the discs at all, no matter what the dial reads.
At my bench, the machine that arrives with the dial cranked to 8 or 9 in frustration almost always just needed a clean rethread with the foot up, not the number it had been fighting for a week.
The action: make rethreading the first move, every time, before touching a single number. Raise the presser foot, pull the old thread completely free, and rethread through every guide in order. Only adjust the dial if a full rethread still fails a proper test seam.
Myth Versus Reality, and the Two Color Test That Proves It
Seven myths, seven quick corrections. Keep this table nearby the next time a guild room rumor makes you doubt a machine that was never actually broken.
| Myth | Reality |
|---|---|
| Never touch the bobbin screw | Quarter turns are safe once the top dial has been tried first |
| Auto tension cannot be the problem | It sets the discs, it cannot fix mis threading or lint |
| The dial number is a universal standard | Numbers are relative to each machine’s own spring |
| The right setting never changes | Humidity, thread batch, and lint shift it over time |
| Loops underneath mean a bobbin problem | Loops underneath almost always point to the top thread |
| Expensive thread does not matter | Bargain thread varies in thickness and breaks even tension |
| Rethreading is a waste of time | A full rethread with the foot up fixes most complaints |
Load one color on top and a clearly different color in the bobbin, a red top thread with a white bobbin thread works well, then sew a straight line on a folded scrap of your project fabric.
Flip the scrap over and read both sides. Whichever color shows up where it should not tells you exactly which thread needs adjusting, no guessing, and no guild room rumors required.
- Thread the top with one color and the bobbin with a visibly different color
- Sew a straight 6 inch test seam on two layers of your actual project fabric
- Check the top side first, then flip the fabric and check the underside
- Adjust the top dial half a number at a time until neither color crosses to the wrong side
Run this test whenever a seam looks wrong and you are not sure why. It takes less time than reading a forum thread about it, and it replaces every myth on this list with an answer you can actually see.
Frequently asked questions
Is it really safe for a beginner to adjust the bobbin case screw?
Yes, as long as you move it a quarter turn at a time and mark the starting position first. Try every top dial adjustment on a proper test seam before you touch the screw, since most tension complaints resolve there and never need the bobbin at all.
Why does my tension setting seem to change with the seasons?
Humidity affects how thread and even fabric behave as they feed through the discs, so a number that sewed perfectly in a dry month can pull noticeably tighter once the air turns humid. Lint buildup and a new spool of the same thread brand can shift the number too, sometimes by a full half point.
My bobbin thread shows on top of my fabric. Does that mean the bobbin tension is wrong?
Not usually. Bobbin thread pulled up and visible on top most often means the top tension is too tight, not that the bobbin case needs adjusting. Lower the top dial half a number and sew another test seam before you consider touching the bobbin screw.
How can I tell if my thread, not my tension setting, is the real problem?
Switch to a full price spool of the same weight and sew the same test seam with no other changes. If the stitch balances out, inconsistent bargain thread was dragging unevenly through the discs, not a setting you needed to hunt for.
Do I need to rethread the whole machine every time a stitch looks off?
Yes, that should be the first move, not the last resort. Raise the presser foot, remove the old thread completely, and rethread through every guide in order, since a missed guide is the single most common cause of a sudden tension complaint.

Amit Sisodia
Amit Sisodia is a longtime sewing enthusiast and hobbyist repair tinkerer who has spent years diagnosing tension quirks, jammed bobbins, and stubborn feed dogs across everything from vintage treadle Singers to modern computerized machines. He writes practical, tested guides for BobbinWise so home sewists can spot problems early, tackle safe repairs themselves, and know when it's smarter to call in a technician.


