Key takeaways
- Checking the accessory box against the manual list on day one turns a missing foot into a free fix instead of a 40 to 80 USD purchase discovered months later.
- A straight stitch, a zigzag, a buttonhole, and reverse on doubled quilting cotton is the fastest way to catch a factory fault while the store will still take the machine back.
- Modern machines skip the old break in period, but the first bobbin sewn at a moderate speed still helps factory grease settle into new gears.
- A settings card with the tested tension number from day one saves a repeat of the same trial and error six months from now.
- A machine that moves daily between a shelf and a table gets dropped eventually, so a permanent home with an outlet and good light protects it more than any accessory does.
The box sits on the kitchen table, one flap already torn where the packing tape gave up too easily, foam corners pulled half loose. The machine is sitting right there, and a scrap of cotton is already waiting three feet away on the cutting mat.
Ten minutes from now this machine could be threaded and sewing a real seam. That urge is the whole reason this routine gets skipped so often, and it is worth resisting for twenty minutes.
The first hour with a new machine sets habits that last five years or more: where the manual lives, whether every accessory in the box gets accounted for, whether the machine gets tested against the return window while a return is still possible. None of that happens by accident.
Here is that first hour, in the order that actually protects the machine and the warranty behind it, before a single real project goes under the needle.
Unbox With the Manual Open, Not Just the Box
Pull everything out onto a clean table and keep the manual open beside the machine instead of setting it aside for later. Every accessory in the box has a line in the manual’s included accessories page, usually near the front with a photo of each foot and attachment.
Check the machine against that list piece by piece while the packaging is still sitting right there. A missing walking foot or buttonhole foot is a same day warranty call at this point, not a discovery six months from now when the box is long gone and nothing proves what actually shipped.
Watch out
The same call comes in every few months: a walking foot that never made it into the box, discovered at week six when a quilt binding project finally called for it. By then the accessory claim window on most brands has closed at 30-60 days, and the only fix left is buying the foot outright for 40-80 USD. Checking the box against the manual list on day one is the only point in a machine’s life when a missing accessory is free to fix.
Keep the box and the molded foam even after every accessory is confirmed and accounted for. Nothing protects this machine in a car trunk or a shipping carton as well as the foam it was actually designed around, and a machine that ever needs a repair shop or a move will want that box again.
Tip
Break the box down flat and slide it under a bed or onto a closet shelf, with the foam pieces bagged so they keep their shape. It takes less room than a spare quilt and saves 15-20 USD in replacement packing material the day this machine actually needs to travel.

Register the Warranty While the Serial Plate Is Easy to Find
The serial plate sits on the back or underside of most machines, a small metal or printed plate stamped with a model number and a serial number. Photograph it now, with the machine sitting out in good light, because that plate gets harder to reach once the machine lives in its permanent spot against a wall.
Register the warranty online or by mail the same day, using that serial number and the purchase date from the receipt. Staple or tape the receipt inside the front cover of the manual, since a warranty claim two or three years out asks for proof of purchase, and a paper receipt fades or disappears long before the machine needs service.
Give the manual a permanent address. The best one is the accessory tray itself, tucked into a plastic sleeve if the tray does not close all the way, so the manual travels with the machine to a class, a repair shop, or a new house.
A close second is a downloaded PDF, saved with the exact model number in the file name rather than a generic label buried in a downloads folder. Search a model number and the word manual months from now, and the right document should turn up in one search.
What to Have on Hand Before the First Stitch
A handful of supplies turn the first hour into a smooth one instead of a search through drawers halfway through setup. None of it is expensive, and all of it gets used again on every project afterward.
| Item | Why day one needs it | Typical cost |
|---|---|---|
| Extra universal needles, size 80/12 | The factory needle is fine, but a spare on hand means one bent tip does not end the session | 5-8 USD for a pack of 5 |
| All purpose thread in two contrasting colors | Needed for the two color test that reveals tension at a glance | 3-5 USD per spool |
| Quilting cotton scraps, several layers | The acceptance test and every setting check afterward needs doubled fabric, not paper | Often free from a scrap bin |
| A small notebook or index card | Becomes the settings card, logging the tension number and any quirks found today | 1-2 USD |
| A basic surge protector | Cheap insurance for a computerized machine’s control board | 15-25 USD |
Thread It the Way This Machine Wants, Not the Way the Last One Did
Every brand routes thread a little differently, and even two machines from the same brand five years apart can move a guide or add a pretension disc. Open the manual to the threading diagram and follow it exactly, one guide at a time, even with twenty years of sewing already behind you.
This is not a beginner step to skip. A machine threaded from memory, following a different model’s path, often still sews, just with tension that never quite settles, and the fastest way to end a week of chasing a tension problem is to rethread by the actual diagram on day one instead.
Keep the machine unplugged while threading it. A stray brush against the pedal with fingers near the needle is one of the most avoidable injuries in a sewing room, and there is no reason to have power running yet.
Wind a bobbin using the thread that came in the box, following the same manual page for winding speed and the tension the winder itself wants. Drop the bobbin into the case exactly the way the manual shows it, since a bobbin seated backward pulls tension the wrong direction from the very first stitch.
The Acceptance Test: Make the Machine Prove Itself Today
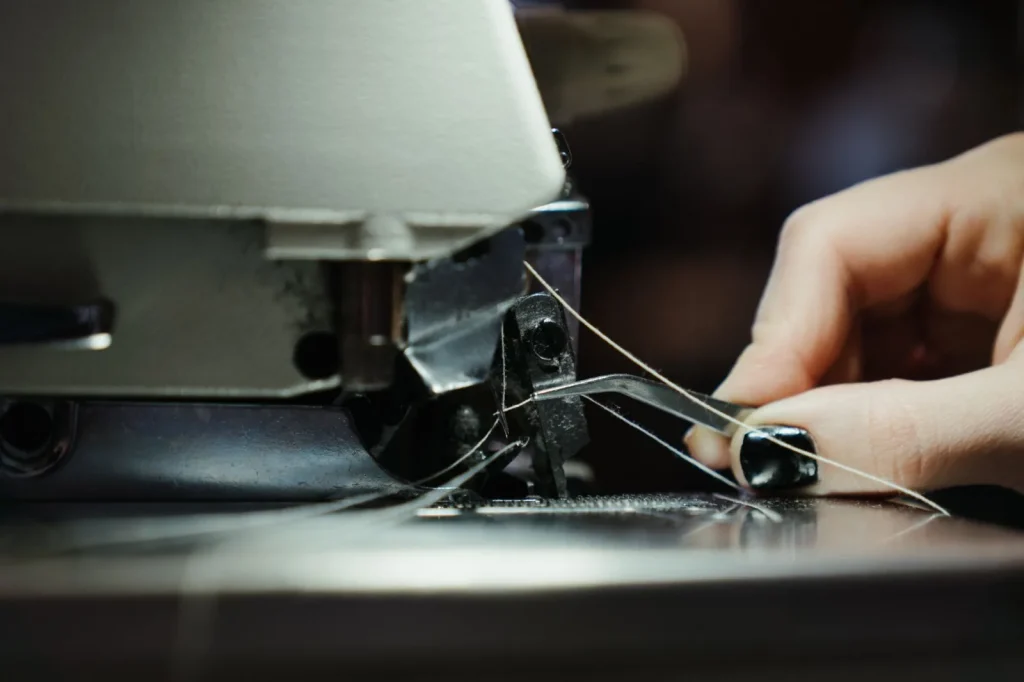
A new machine deserves the same scrutiny as a car given a test drive before the papers are signed. Layer two pieces of quilting cotton and run through four stitches while the return window is still open, because a factory fault found today is a return or exchange conversation, and the same fault found in month three is a repair bill.
Set the stitch length to 2.5 mm and sew a straight line, checking both sides of the fabric for even, flat stitches with no loops. Switch to a zigzag and sew another line, watching the needle clear the plate cleanly at its widest swing.
Sew one buttonhole using the machine’s buttonhole foot and function, then check that the stitch density and the two sides sit even and parallel. Finish by holding reverse for a few stitches, confirming the feed changes direction smoothly instead of stalling or piling stitches on top of each other.
- Straight stitch at 2.5 mm, both sides flat with no looping
- Zigzag stitch at full width, needle clearing the plate cleanly
- One complete buttonhole, even density on both sides
- Reverse stitching, smooth feed with no stall or pileup
- Bobbin thread pulling up cleanly on the first try
- No unusual sound, smell, or vibration through all four tests
Reading the Two Color Seam
Use two contrasting thread colors for this test, one color on top and a different one in the bobbin. Where the two threads lock together says almost everything about the machine’s factory tension: evenly in the middle of the fabric on a balanced setting, off to one side when it is not.
Choose a Permanent Home Before the First Project
A machine that moves daily, off a shelf and onto a table and back again, gets dropped eventually. It is less a question of if than which week, and a fall of even a few inches onto a hard floor can knock a hook out of time.
Pick one spot with a dedicated outlet nearby and enough light to see the needle without a headlamp, and let the machine live there. A table lamp angled at the needle area solves more stitching mistakes than any dial adjustment ever will.
Plug computerized machines into a basic surge protector rather than straight into the wall. A control board runs 100 USD or more to replace, and a 15-25 USD surge protector is the cheapest insurance in the entire setup.
Write Down the Settings the Test Seam Just Found
Pull out the notebook or index card from the day one supply list and start the settings card now, while the acceptance test seam is still sitting on the table. Note the tension number where the two colors locked together evenly, the stitch length that looked best, and the date.
This card saves real time later. Six months from now, after a fabric change or a routine cleaning nudges tension off, the card offers a known good number to dial back to instead of turning the dial by feel and guessing again.
Sort the Break In Myth From What Actually Matters
Older machines, especially anything mechanical from before the 1990s, sometimes came with a real break in period recommended by the dealer: light use for the first few hours while parts settled together. Modern machines, computerized or not, do not need that. Factory tolerances are tight enough that a new machine performs at its full setting from the first stitch.
One piece of the old advice still holds up. Sewing the first bobbin or two at a moderate speed, rather than flooring the pedal on a quilt top right away, gives factory grease a chance to work its way across gears and cams that have been sitting still since assembly. Treat it less like a required ritual and more like a sensible first ten minutes.
None of this routine takes more than 20-30 minutes, and most of it only happens once. The unboxing check, the warranty registration, and the first threading by the actual diagram are day one tasks that get harder, sometimes impossible, to redo cleanly later.
The acceptance test and the settings card are worth repeating every few months as a quick reference check, but they matter most today, while a fault is still the store’s problem and not a repair bill.
Once the manual has a home, the accessories are confirmed, and a test seam sits in the notebook with a tension number written under it, the machine has earned its spot on the table. That scrap of cotton by the cutting mat can finally get sewn into something real.
Frequently asked questions
How long do I have to report missing accessories on a new sewing machine?
Most brands close the accessory claim window at 30 to 60 days from purchase, sometimes tied to the registered warranty date rather than the receipt date. Check the box against the manual's included accessories list the same day it arrives, while the packaging and the paperwork are both still on the table. After that window closes, a missing foot becomes a 40 to 80 USD purchase instead of a free replacement.
Do I really need to follow the manual's threading diagram if I have sewn for years?
Yes, because thread paths differ between brands and even between models from the same brand a few years apart. A machine threaded from memory off a different model often still sews, but with tension that never fully settles. Following the actual diagram for this specific machine on day one prevents a tension chase that can take a week to trace back to a skipped guide.
What fabric and thread should I use for a new machine's first test seam?
Two layers of plain quilting cotton, sewn with two contrasting thread colors, one on top and a different shade in the bobbin. The doubled fabric gives the feed dogs and the needle a realistic load, and the contrasting colors make tension problems visible immediately in the seam. Save the test strip and write the date and tension number on it for future reference.
Does a new sewing machine need a break in period?
No, not in the way older mechanical machines sometimes did. Modern machines are built to full factory tolerance and sew correctly from the first stitch. Sewing the first bobbin or two at a moderate speed still helps, since it gives factory grease a chance to distribute across gears that have been still since assembly.
What should go on a new sewing machine's settings card?
The date, the tension number where a two color test seam balanced evenly, the stitch length used, and any quirks noticed in the first hour, like a slightly stiff dial or a loud spot in the handwheel. Two or three lines is enough. It becomes the reference point the next time tension drifts after a cleaning or a fabric change.

Amit Sisodia
Amit Sisodia is a longtime sewing enthusiast and hobbyist repair tinkerer who has spent years diagnosing tension quirks, jammed bobbins, and stubborn feed dogs across everything from vintage treadle Singers to modern computerized machines. He writes practical, tested guides for BobbinWise so home sewists can spot problems early, tackle safe repairs themselves, and know when it's smarter to call in a technician.